INGREDIENTS:
DIRECTIONS
I cook my rice in the instant pot. 2 cups Japanese rice and 3 cups water. Ideally, washed 1-2x before cooking. Cook it on the “rice” setting. Let it sit for 15min after it is finished cooking.
You' are going to “soft cook” your salmon in a skillet on the stove. You do this by warming your sklillet to a very low heat.
Pat your salmon dry with a paper towel. It’s ideal if the salmon is at room temp before cooking but it’s not a deal breaker if you didn’t set it out.
Add olive oil to your skillet
Place the salmon skinside down in the skillet, pour mirin over the top, and place a lid over the salmon to let it "steam” with the mirin.
Cook about 7minutes on low for each side. Don’t overcook! It should be moist and flakey but not dry at all.
Take your rice and salmon and mix it together in a large bowl. You can add in other toppings like sea vegetable powder, furikake, sea salt. Taste it as you mix to see if the flavor is desirable.
Once your done, wet your hands, then take about a 1/4 cup of the mixture and form it into a ball and place in a tupperware. Repeat until all the balls are formed.
Pack your rice balls and seaweed seperately!
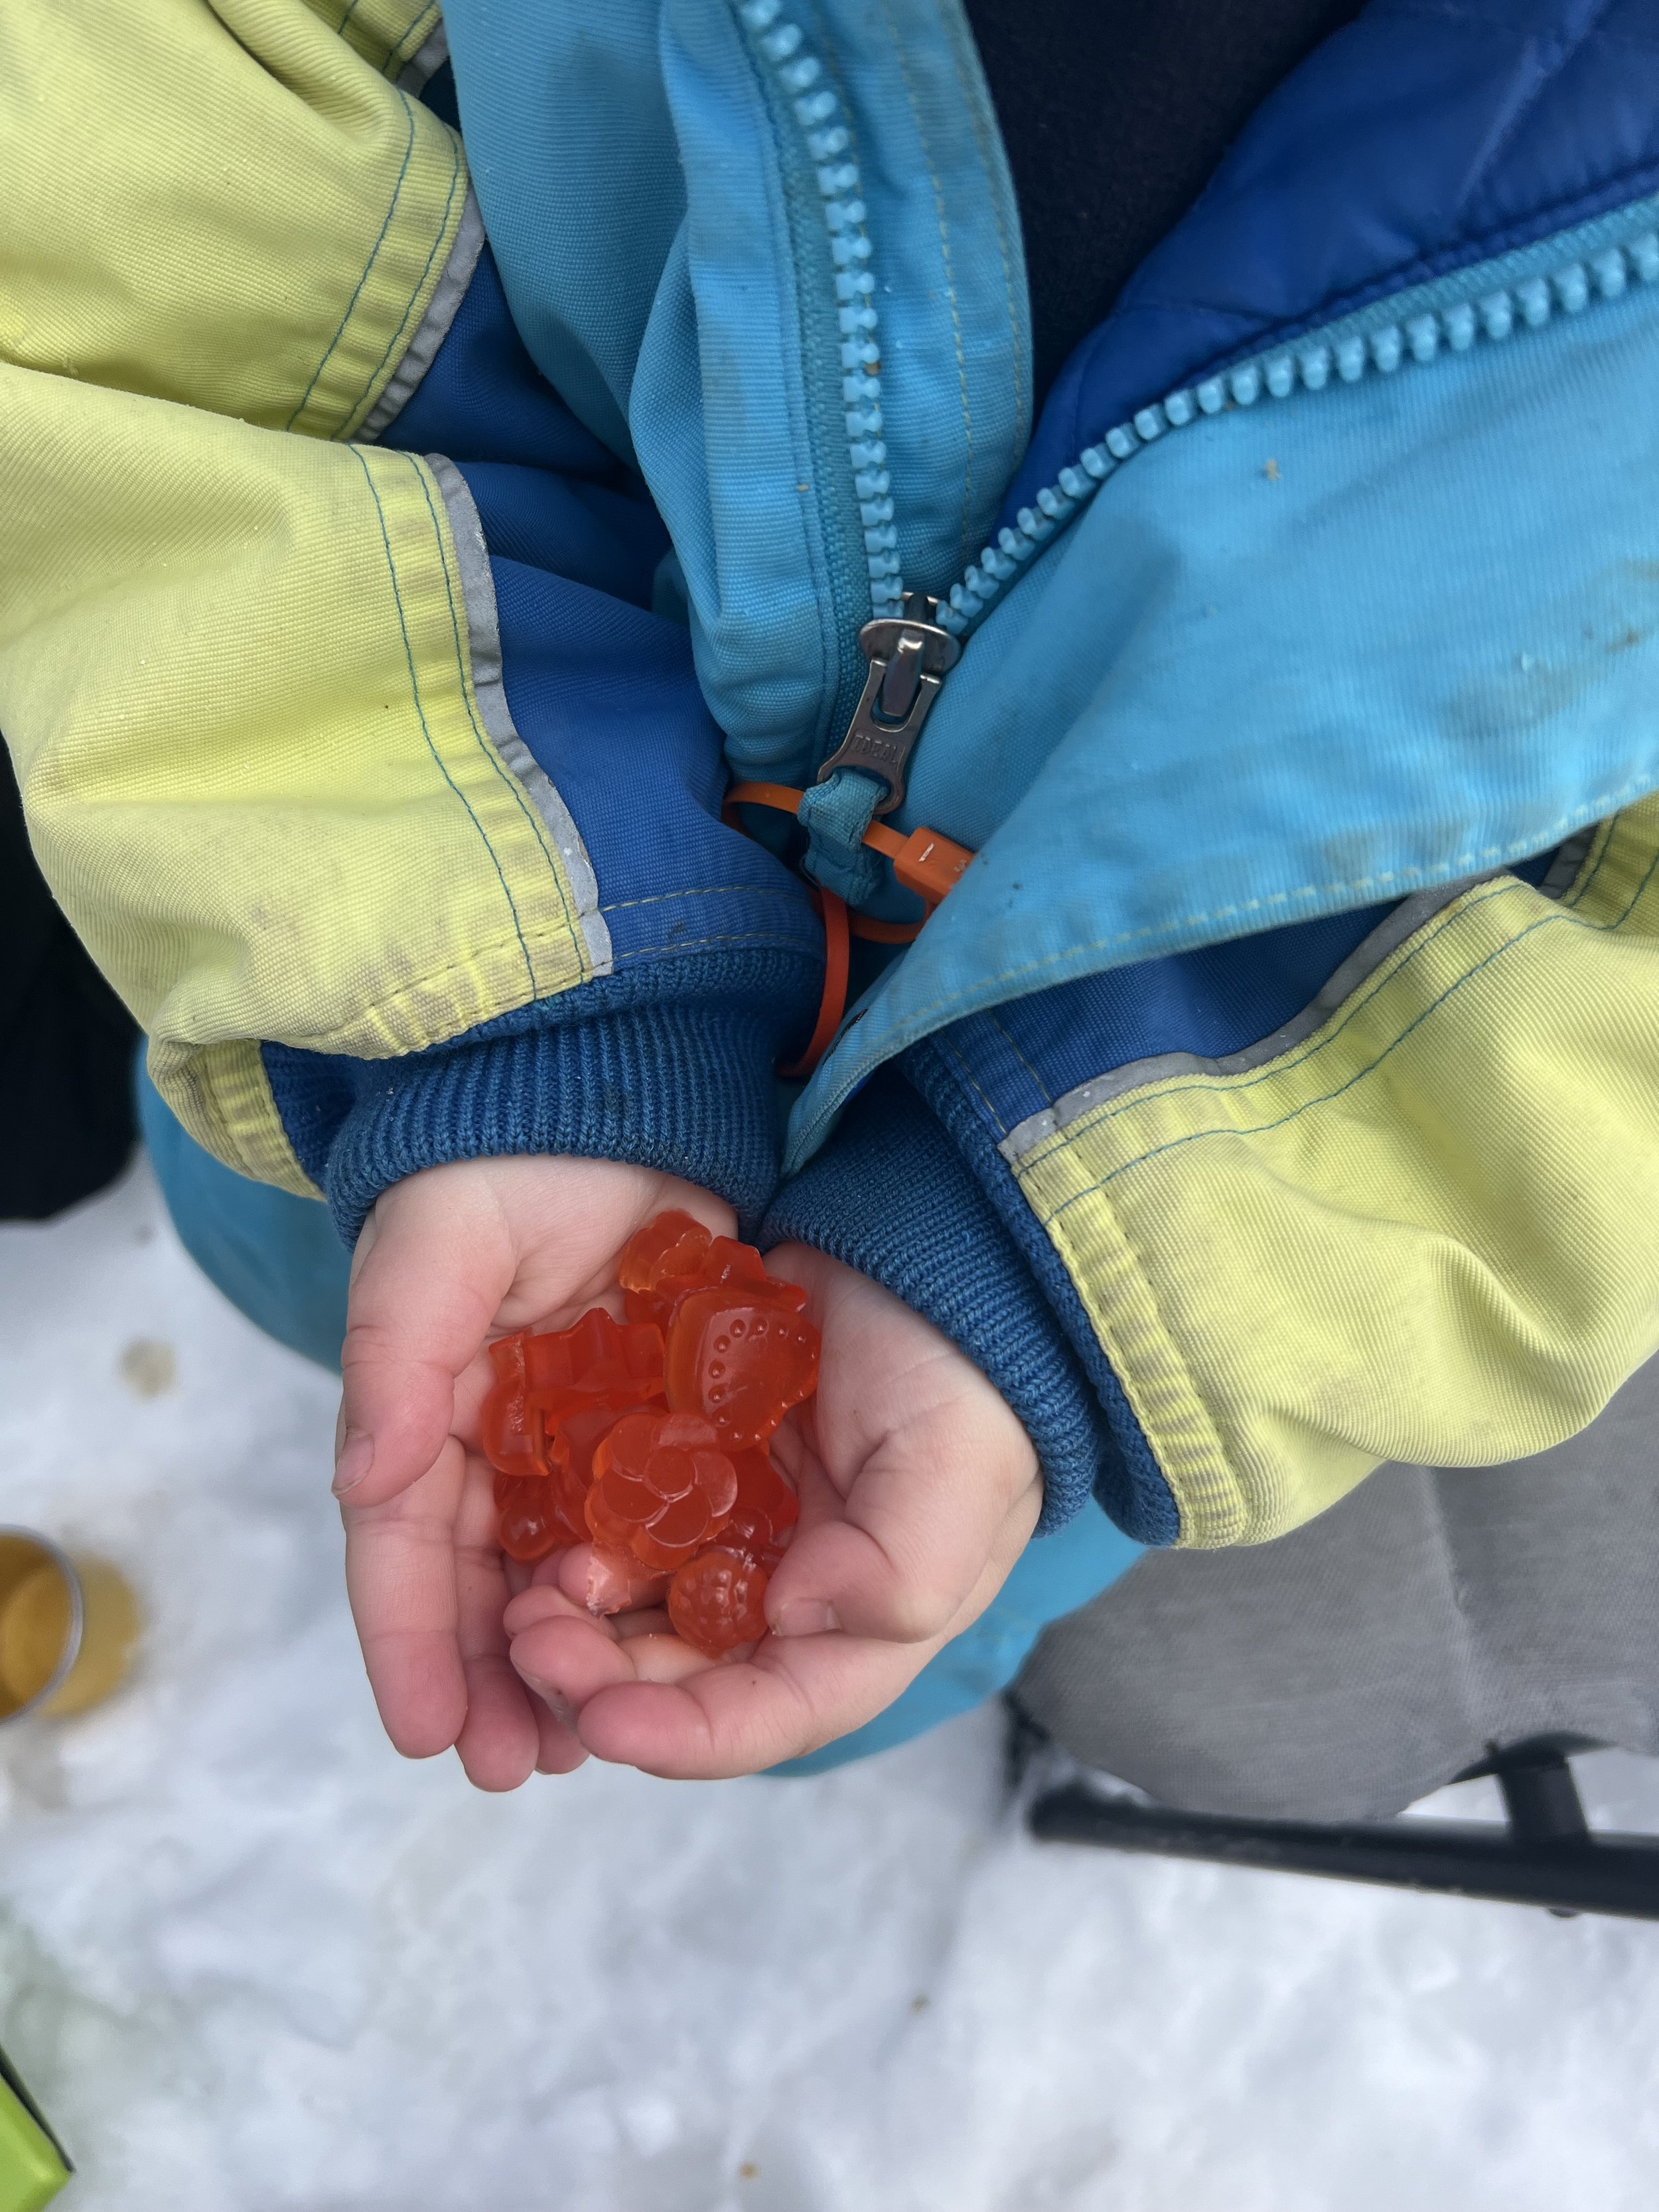
At the slopes unpack your rice balls and seaweed, wrap up the rice ball with seaweed, pass out and enjoy!
I love enjoying an Onigiri on a ski day because it’s SO NOSTALGIC to me! I grew up skiing all day with an Onigiri from 7-11 in my pocket…. when I got hungry I simply ate my lunch on the chair life and never even had to take a break.
I also love this because it’s a wonderful source of protein, carbs, and fats PLUS wonderful micronutrients like Omega-3s and Iodine!
Read on if you’re interested in the importance of IODINE!
So, what is the role of Iodine?
Chris kresser says in his article,
"Iodine is important for thyroid health, fetal growth, mental health, and more."
Chris Masterjohn says in his substack,
"Why we need iodine: Nourishing the thyroid, softening the breasts, revving up the whole of metabolism to make all the other nutrients do their jobs better and faster."
IODINE
I posted stories on instagram today talking about IODINE and the principle of discipline.
When I went through Chris Kresser's ADAPT Functional Medicine program we took a deep dive into a lot of the essential micronutrients.
Iodine was one that fascinated me because of the key role it plays in women's health AND because of my childhood in Japan I was exposed to an iodine rich diet and foods. Recognizing how noticably absent they are in the American diet once we moved back.
In the world of crunchy wellness we often look at iodinzed table salt and label it as "bad" and another example of how the government tried to corrupt our food.
But, here is a question to ponder. Perhaps the government noticed how incredibly important iodine is in our diet and how unbelievably absent it is, and sought to provide a solution in a way to get us as much iodine as possible. What American doesn't use table salt at least 3x a day?
Is using Iodinzed table salt worse than a diet with hardly any iodine in it?
Now, here me out. I'm not necessarily advocating for you to buy iodinized table salt. We now know of the unintended consequences of using this form of iodine and sodium and have knowledge that helps empower us with better choices.
Thanks for reading and tuning in!