Richard and my first backpacking trip together was to Yosemite spring of 2014! We went with a few close friends for our Senior year spring break...RIGHT before we got engaged, actually!
Baby Yosemite-ees!
Since then, we've visited Yosemite a few more times and have tried a lot of different routes and backpacking loops. Here are a few we've done:
- Happy Isle trailhead to Half Dome 3 day backpacking trip
- Yosemite Falls to North Dome backpacking trip
- Tenaya Lake to sunrise lake to Clouds Rest backpacking trip
- Happy Isle trailhead to Half Dome day hike
- Glacier Point to half dome backpacking
- Happy Isle trailhead, to Half Dome, to Glacier Point, to Happy Isle backpacking
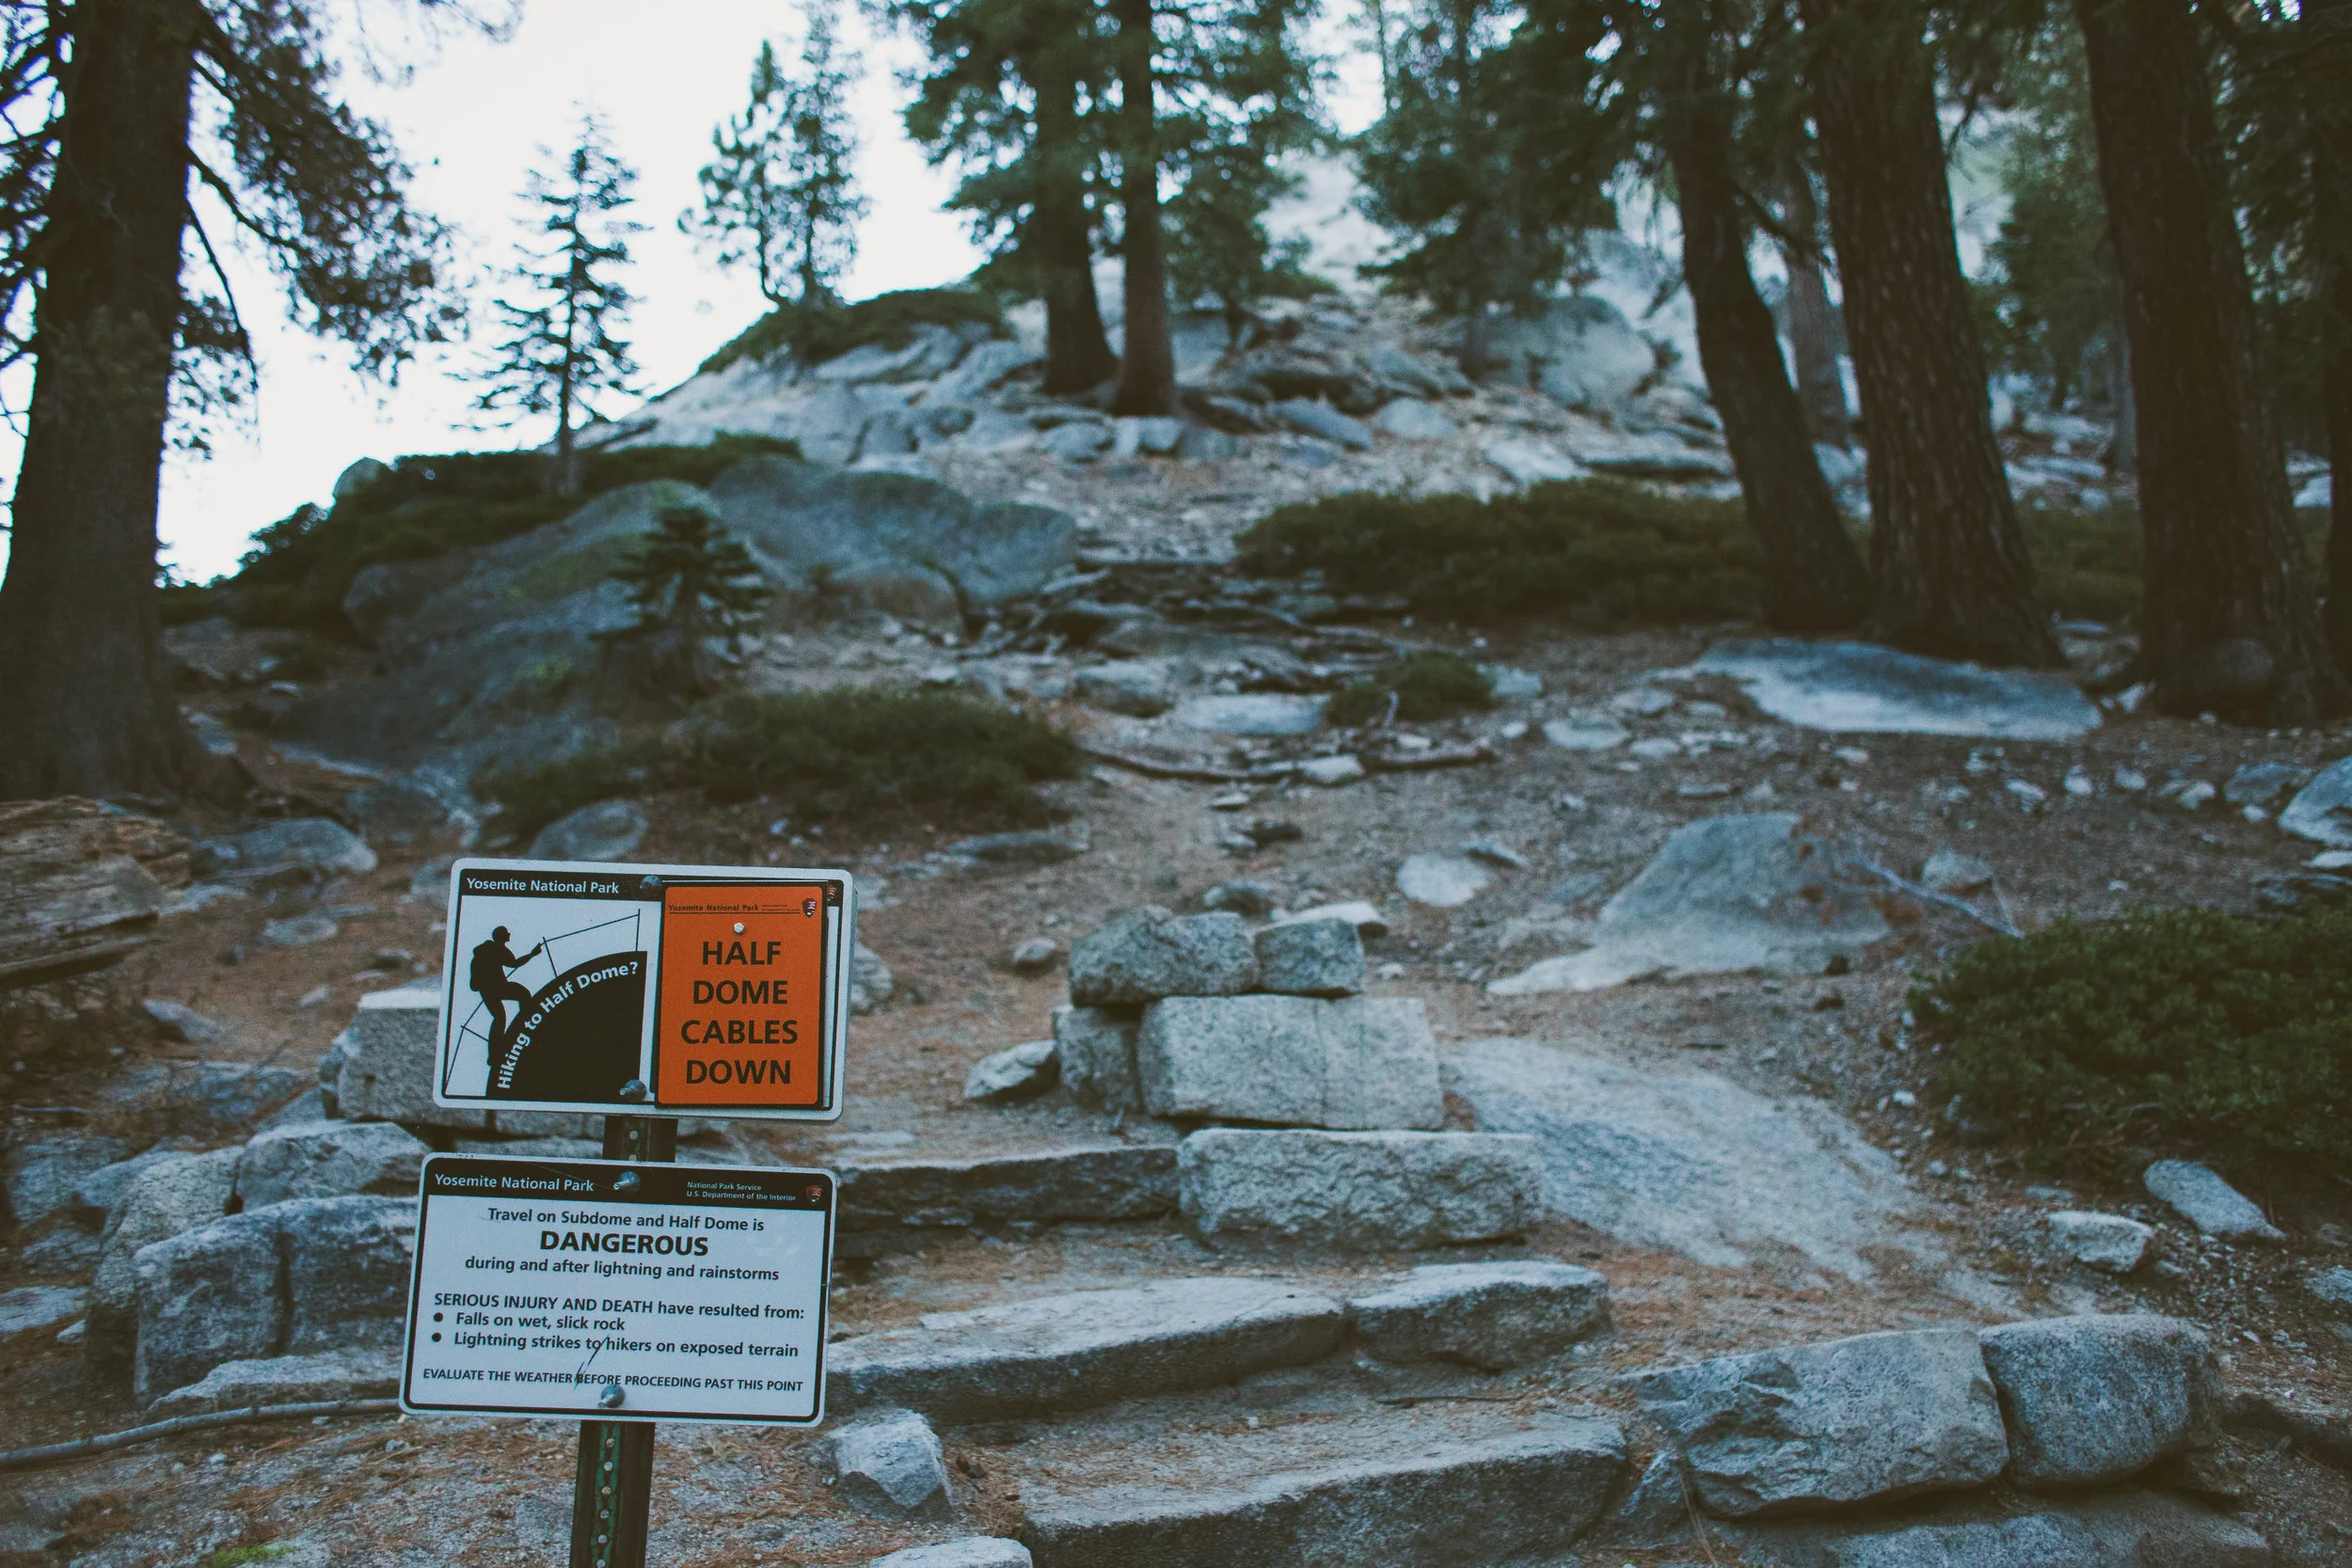
I remember on our second trip to Yosemite we sat around the community campfire at Little Yosemite Valley campground and a group of other backpackers told us they were hiking Half Dome the next day. "Wait, but the cables are down...?" They told us that's the best time to hike half dome! No permits... no crowds... and the reality is, the cables aren't actually OFF Half Dome, they are just laying flat on the rock instead of at waist height. You can sure bet we were back at Yosemite 1 1/2 months later attempting this cables down Half Dome hike! Now, that doesn't mean anyone should just scamper on up there without safety and precaution... there IS a way to hike half dome during the winter season safely, and there is a way to hike half dome un-safely... so, do it safely! I'll highlight our itinerary and just what you need to hike half dome with the cables down below!
Half Dome Cables
Hiking Trails to Half Dome
If you're going in early November or late April (no snow months) you may have a few more options as far as trails. However, if it's your first time in Yosemite OR if you're going during snow-months when certain roads and trails may be closed, here is your best bet (you get the best views and the trails are almost always open). You can do it one of two ways:
- Day hike from Happy Isle Trail head to Half Dome and back down. It's a 14.2 mile + 5,000ft elevation gain + the actual Half Dome climb day hike. Here is the ALL TRAILS guide. We attempted this in January and didn't bring the appropriate safety for ice and snow. We had to turn back down 1/2 way up sub dome (literally 1/4 mile from Half Dome). It also made for a LONG day. You'll need to start around 5AM and expect to finish after dark.
- Alternatively, you can split the trip up and turn it into 2 day 1 night (or longer depending on what else you want to tack onto the trip!)backpacking trip instead of a day hike. See my backpacking itinerary below. :)
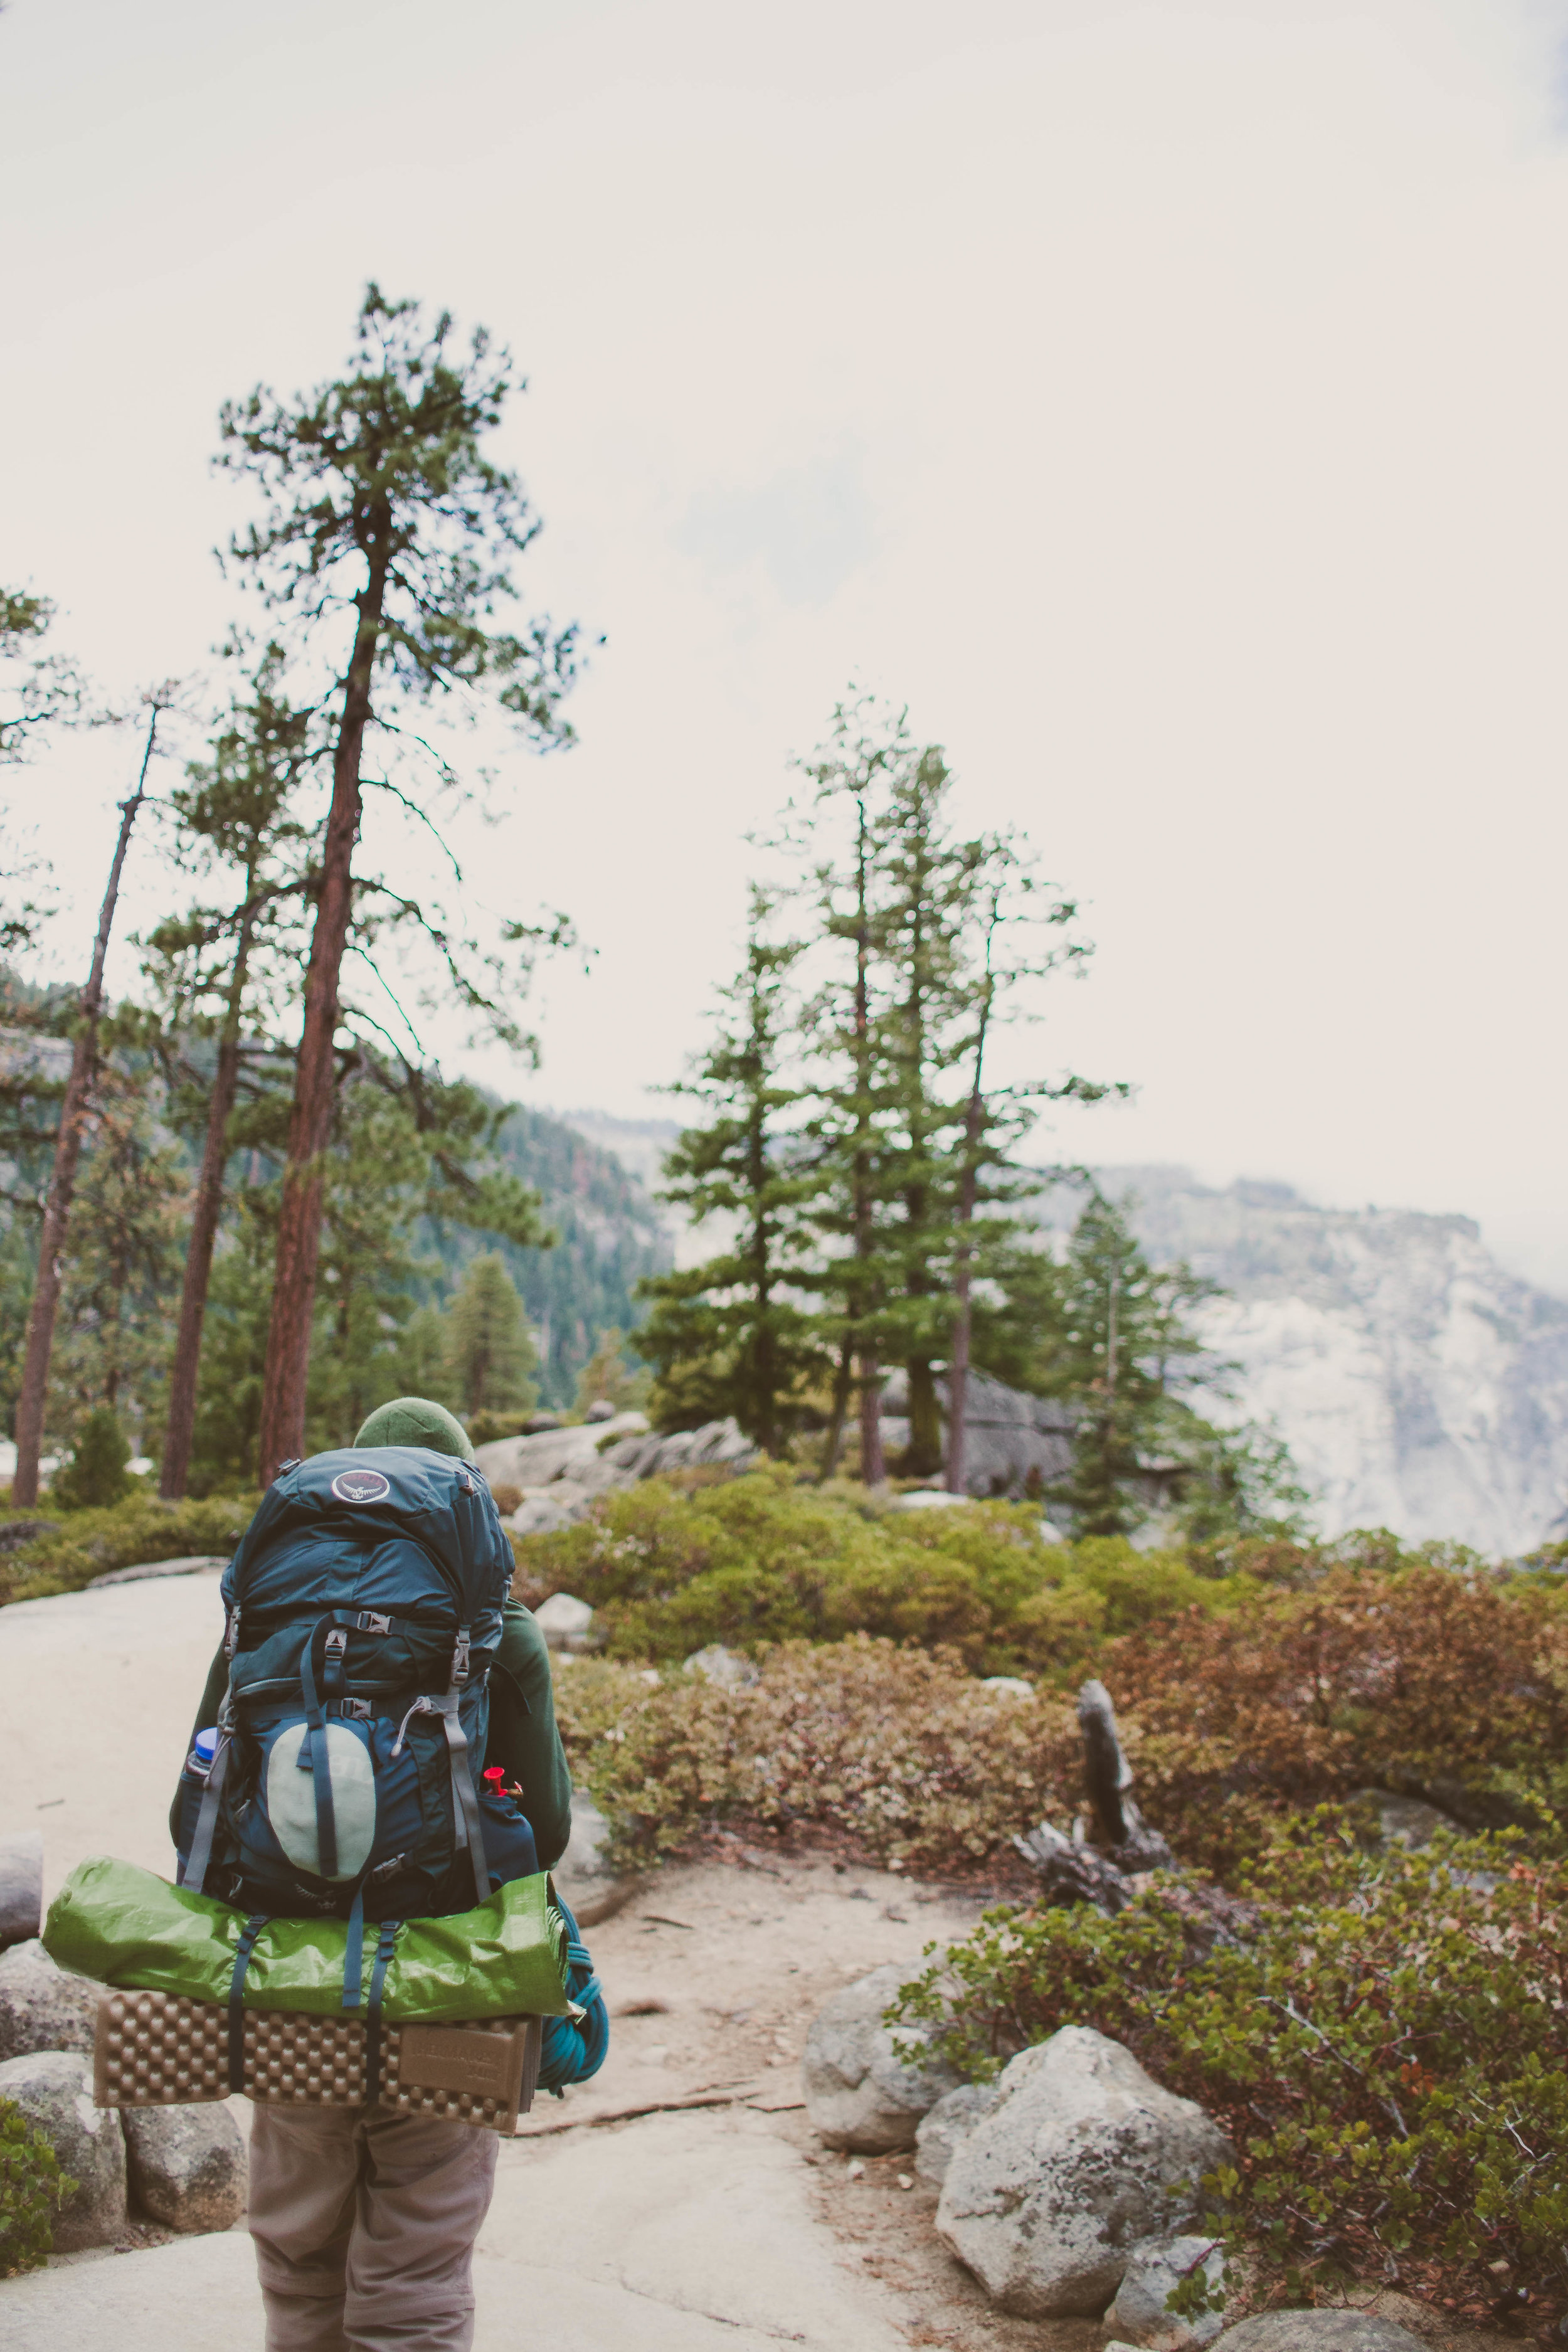
The JMT close to Vernal Falls
Pros for the day hike:
- Lighter weight packs
- You'll probably move at a faster pace
- You don't have to camp out in the cold. Little Yosemite Valley campground will definitely be colder than the valley floor since it's 4,000 ft higher in elevation.
Pros for backpacking:
- You don't need to start your hike at the crack of dawn. Often, we end up driving into Yosemite mid-day and start our hike around 2 or 3PM.
- You can take your hike up to the campground slower, take more breaks at the waterfalls, and really enjoy the scenery.
- You'll get to experience Little Yosemite valley campground! One of my all time favorite campgrounds. It's so peaceful, away from the hustle and bustle and tourism of Yosemite.
- You can plan to be on top of Half Dome for sunrise or sunset and you don't have to worry about the time.
- You can plan to extend your stay at Little Yosemite valley campground and either take more day-trips to other spots like Clouds Rest or Glacier point, OR, if trails are open you can backpack out a different trail to the Valley Floor (like Glacier Point down the 4-mile, or to Clouds Rest out to Tenaya Lake) and create a nice backpacking loop.
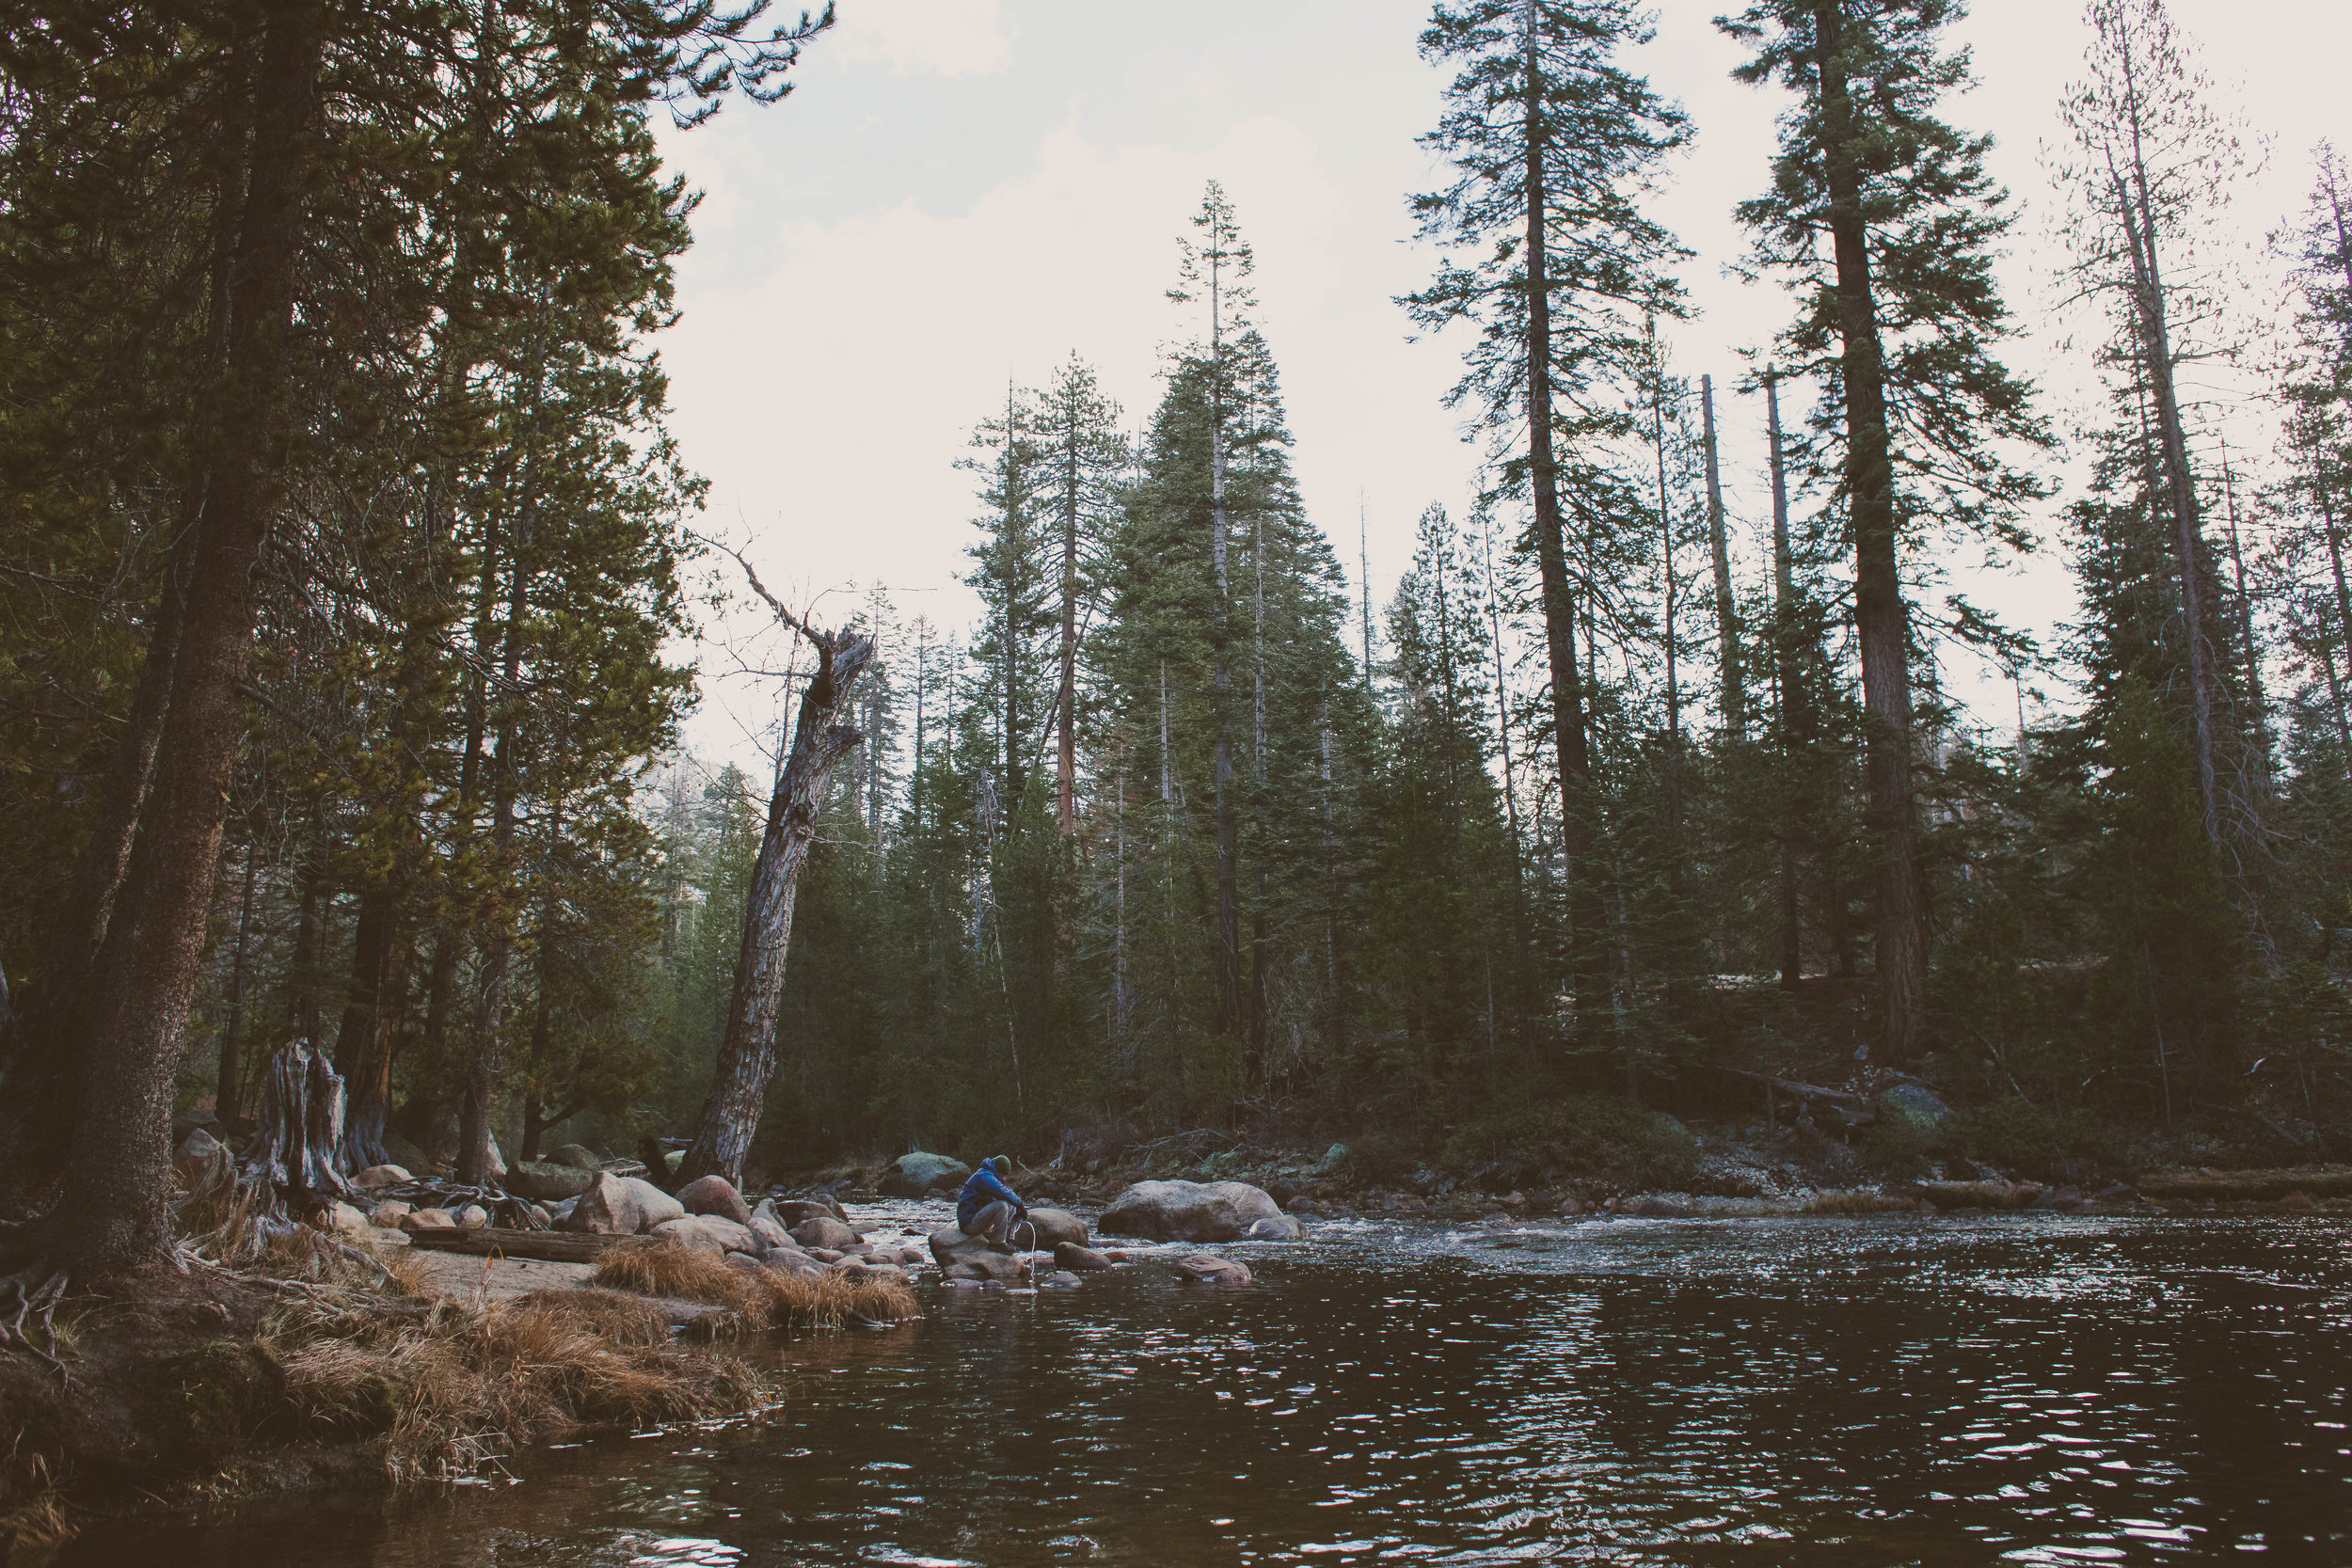
Filtering water from the Merced River at Little Yosemite Valley campground
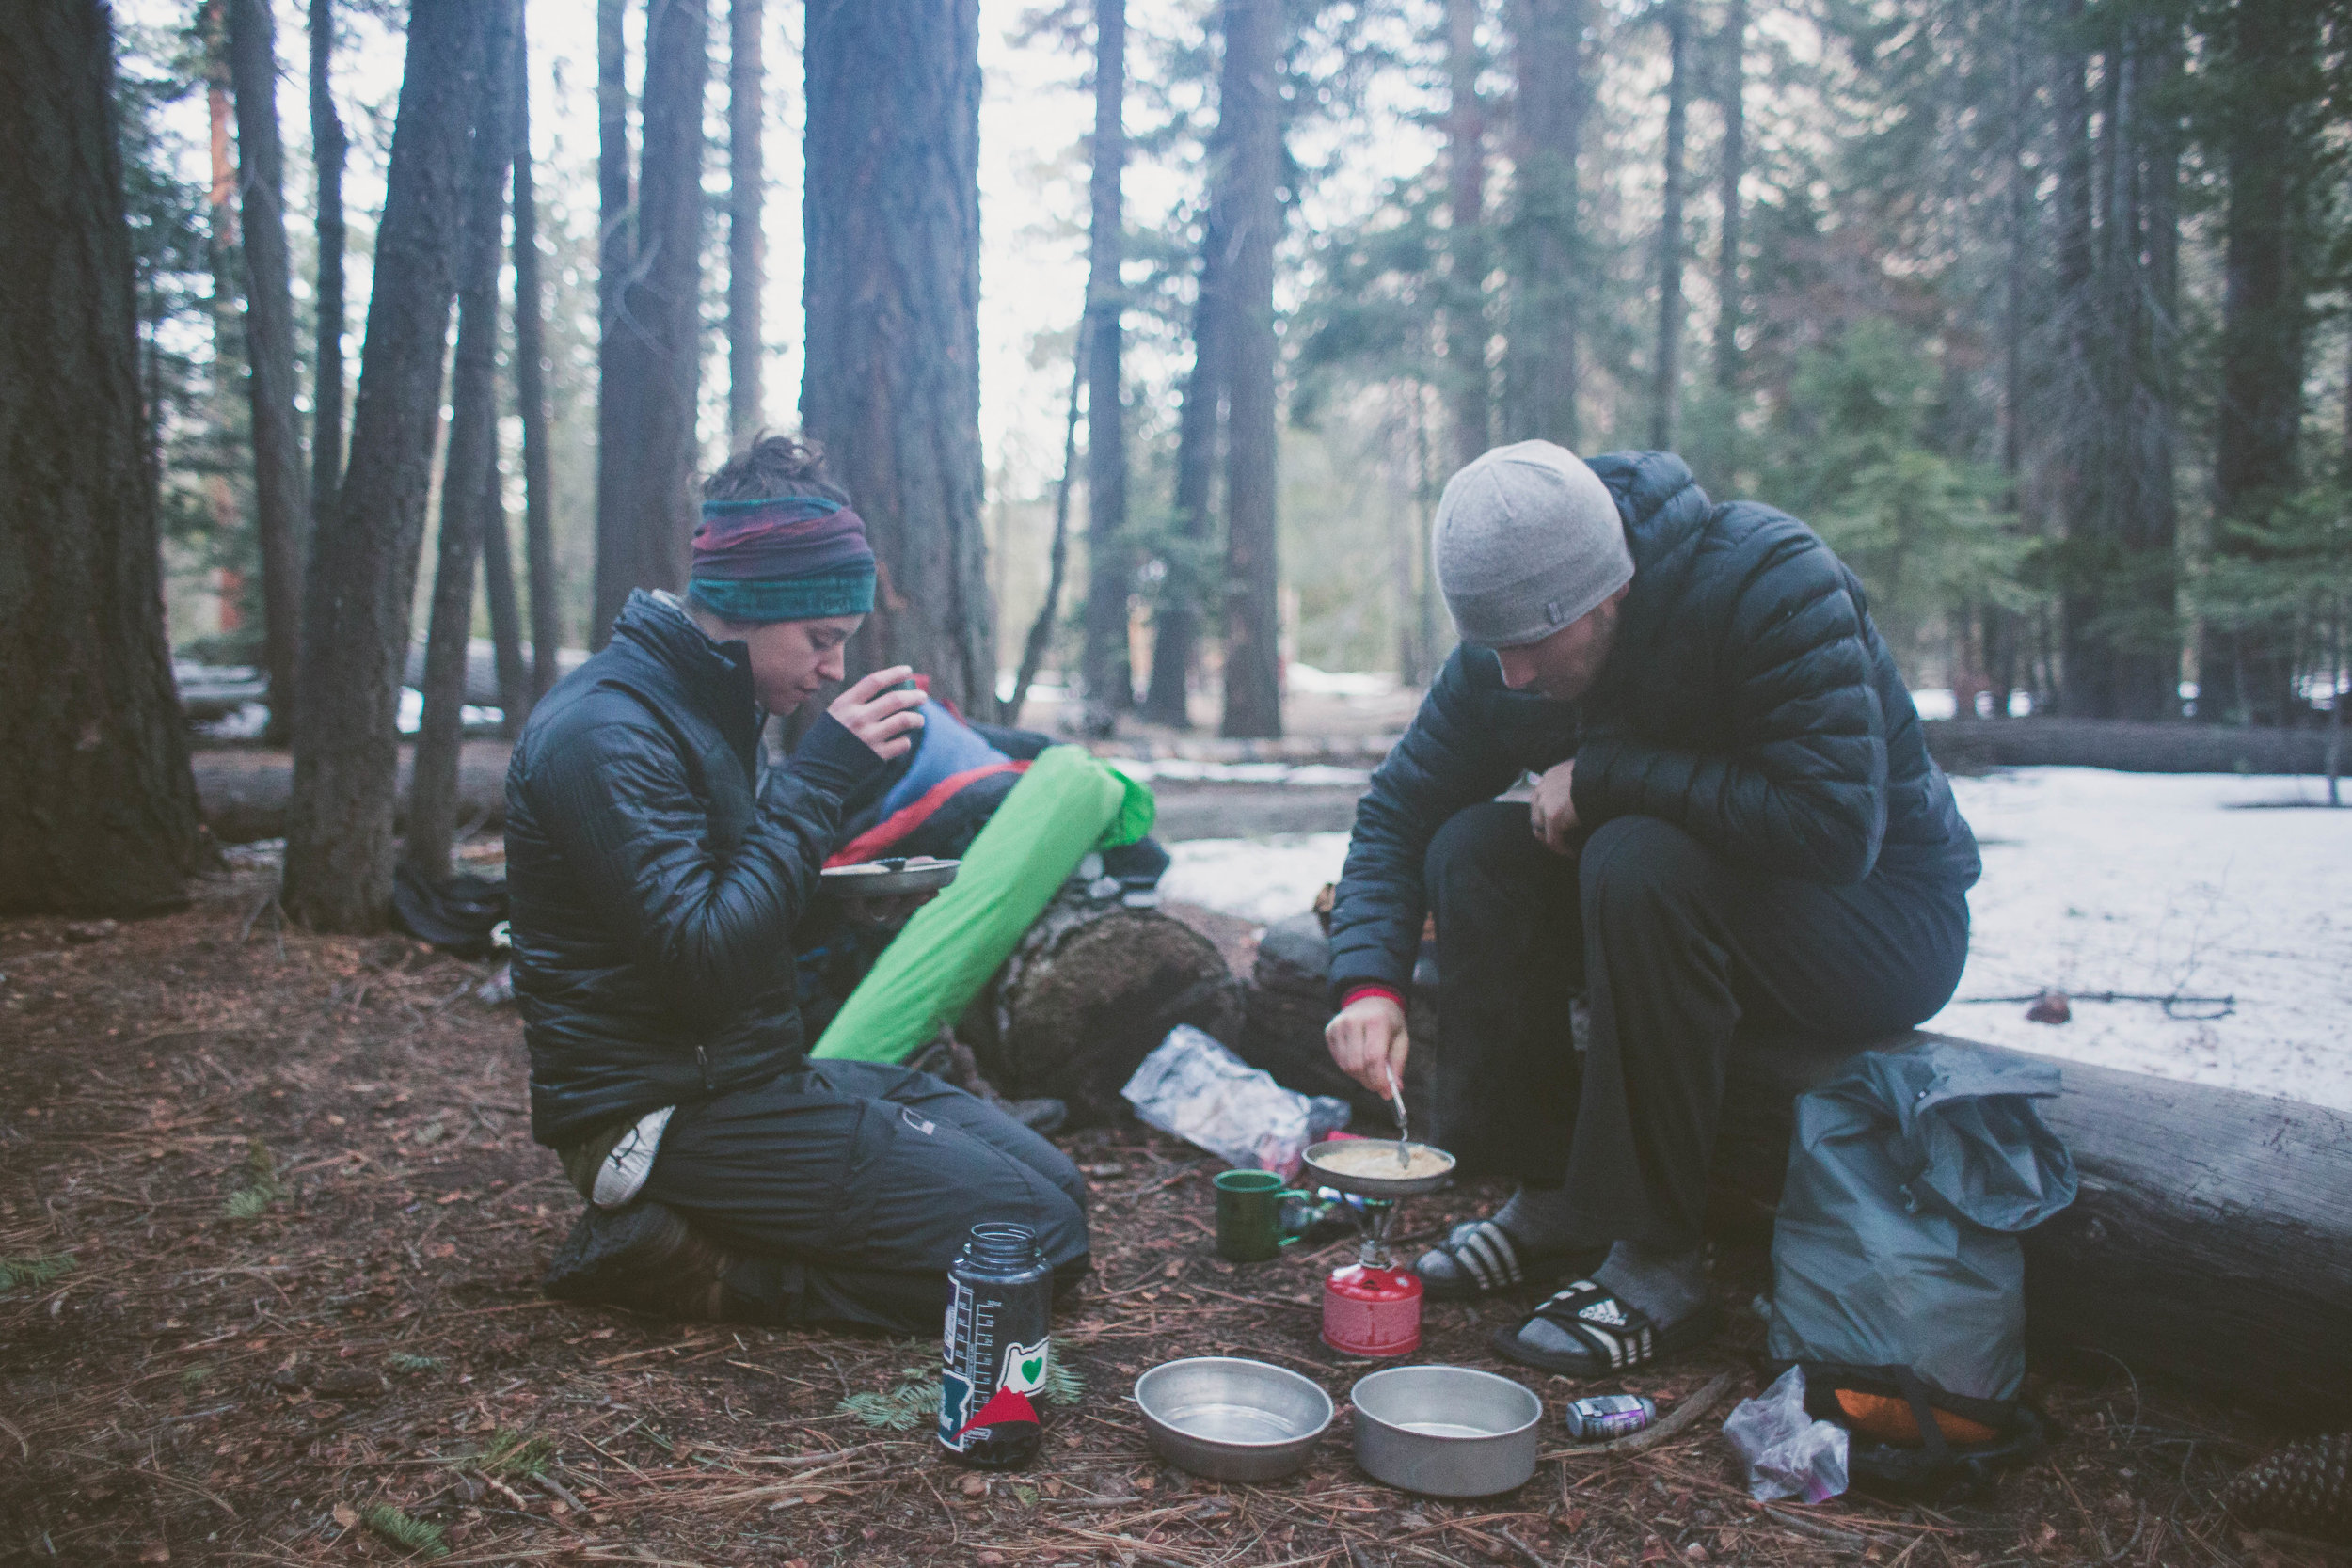
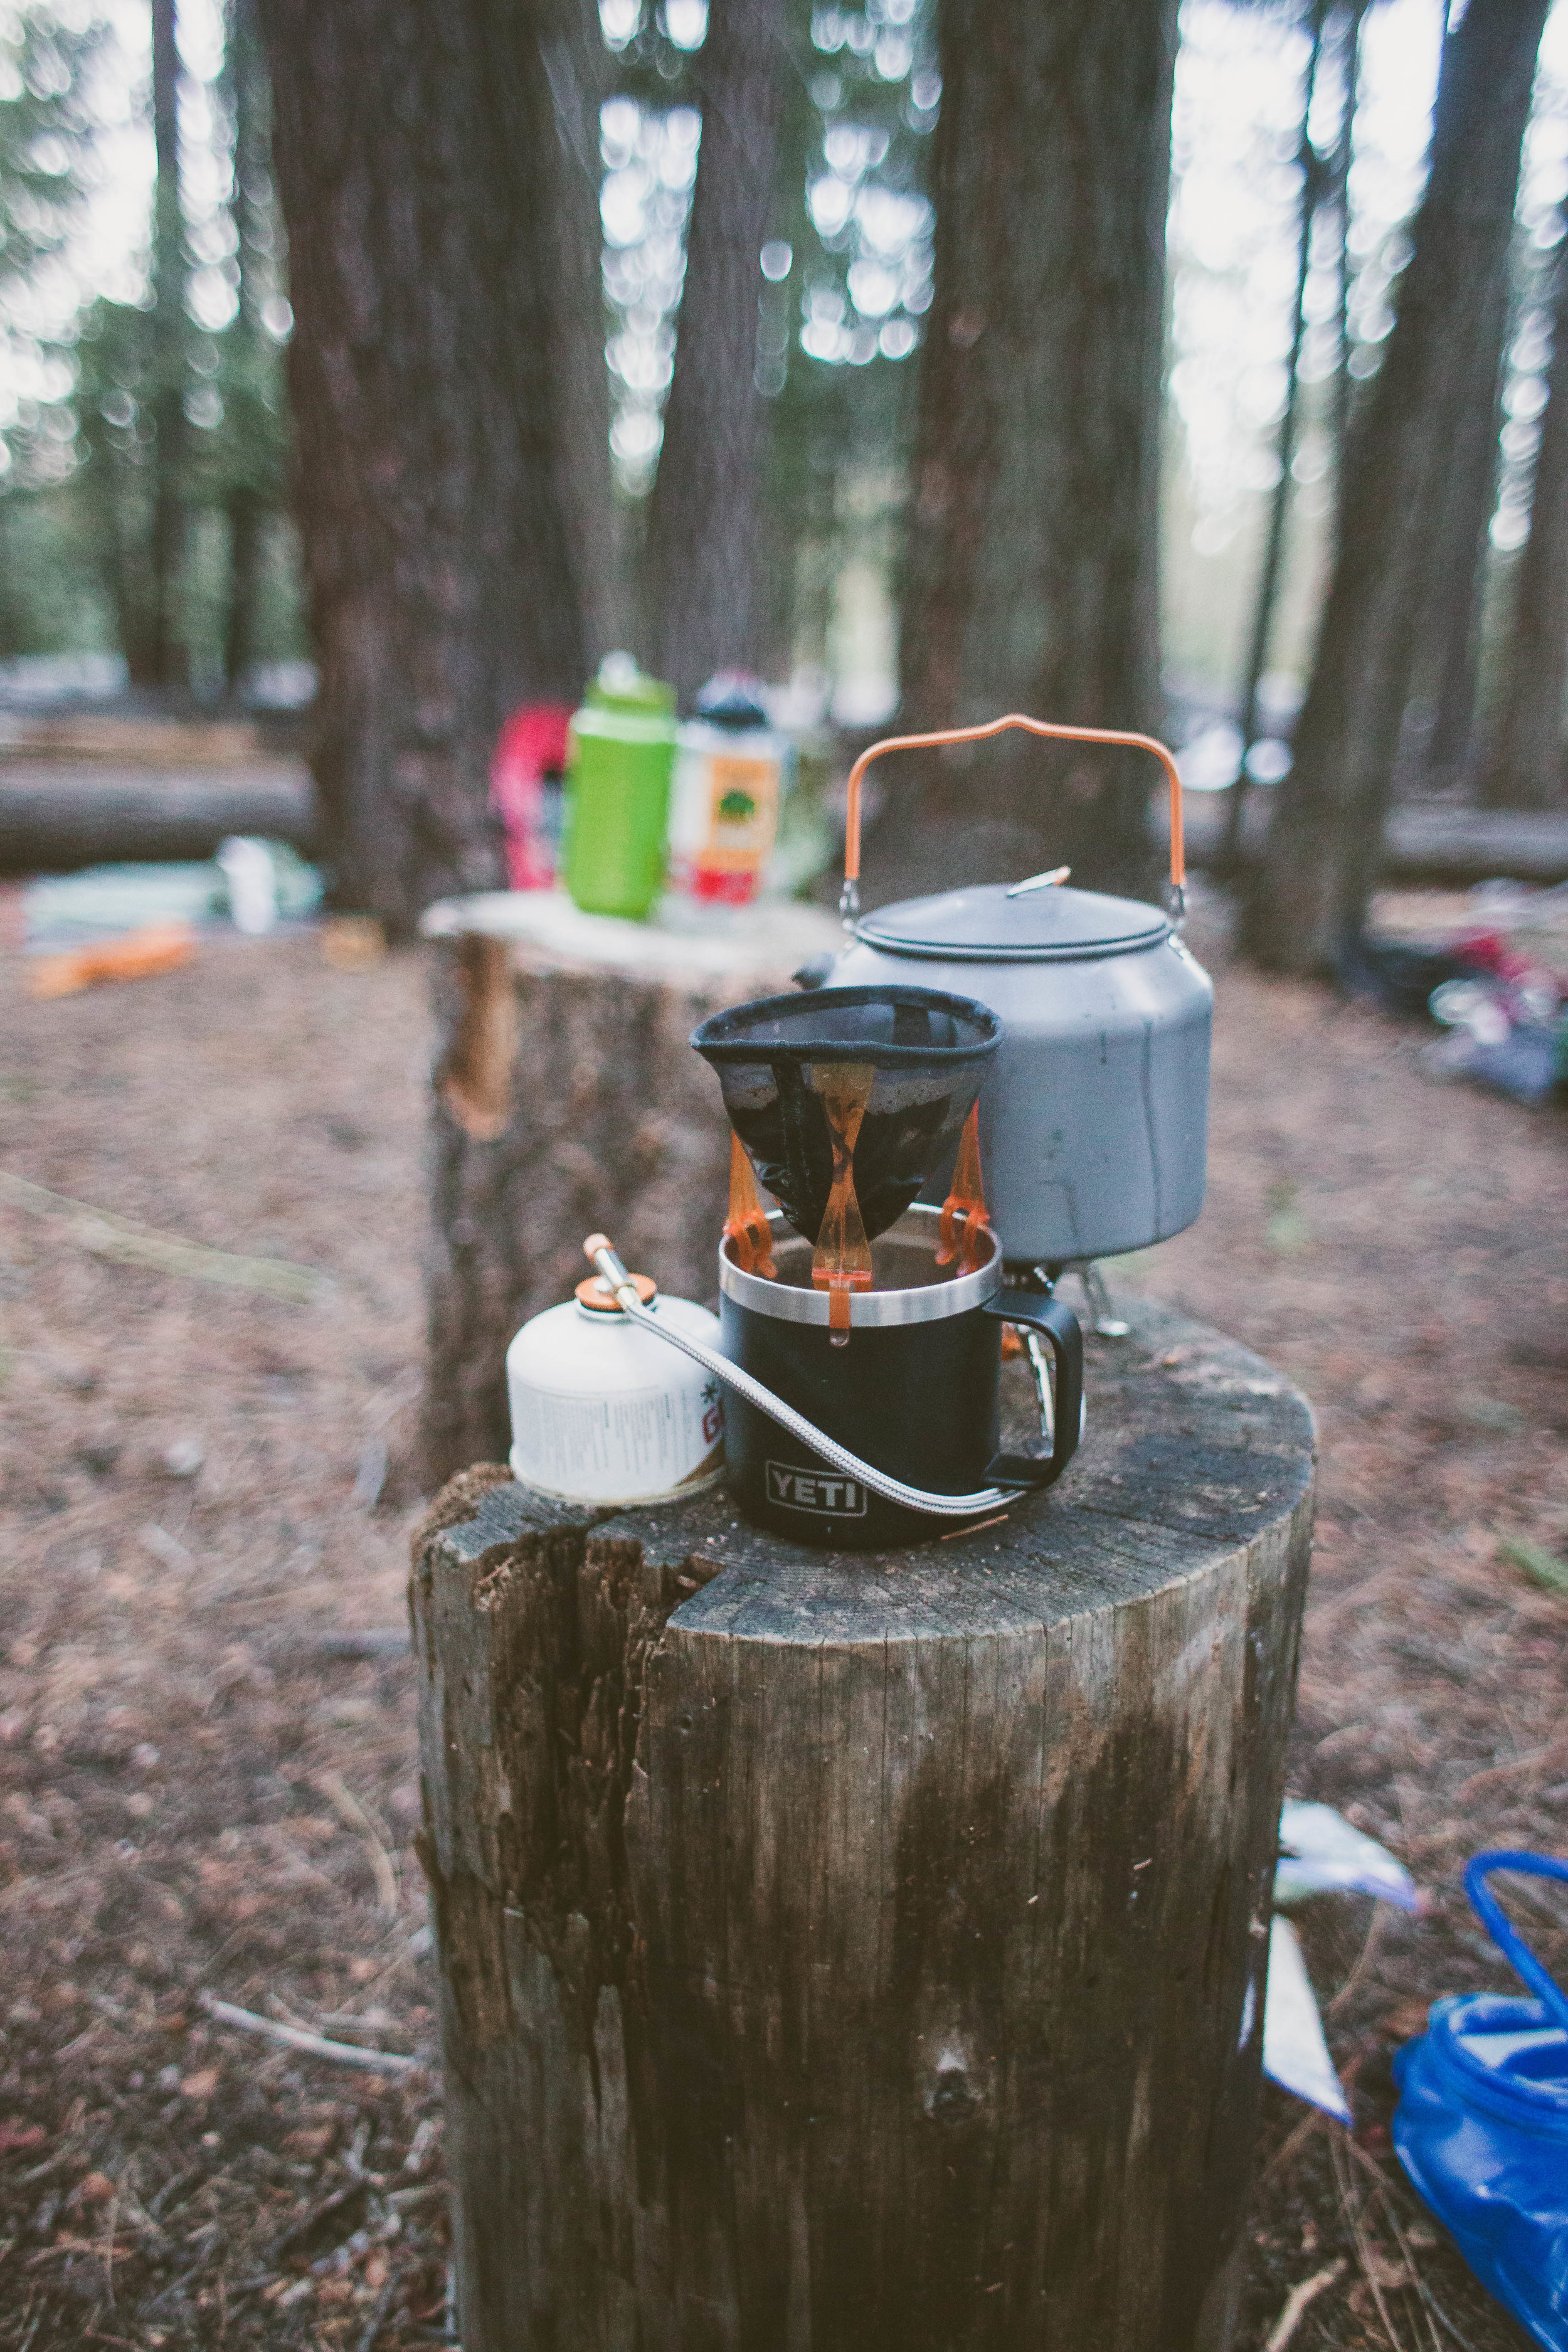
Backpacking Itenerary
- Park at Half Dome village and take the shuttle over to Happy Isle trailhead (it's free and runs every 15 minutes until 10 PM)
- From Happy Isle Trailhead backpack up to Little Yosemite Valley Campground by taking as much of the John Muir Trail that's open (avoid the grueling Mist trail - it's brutal on your knees with a heavy pack on!). It is about a 6.5 mile hike and 4,000 ft of elevation gain.
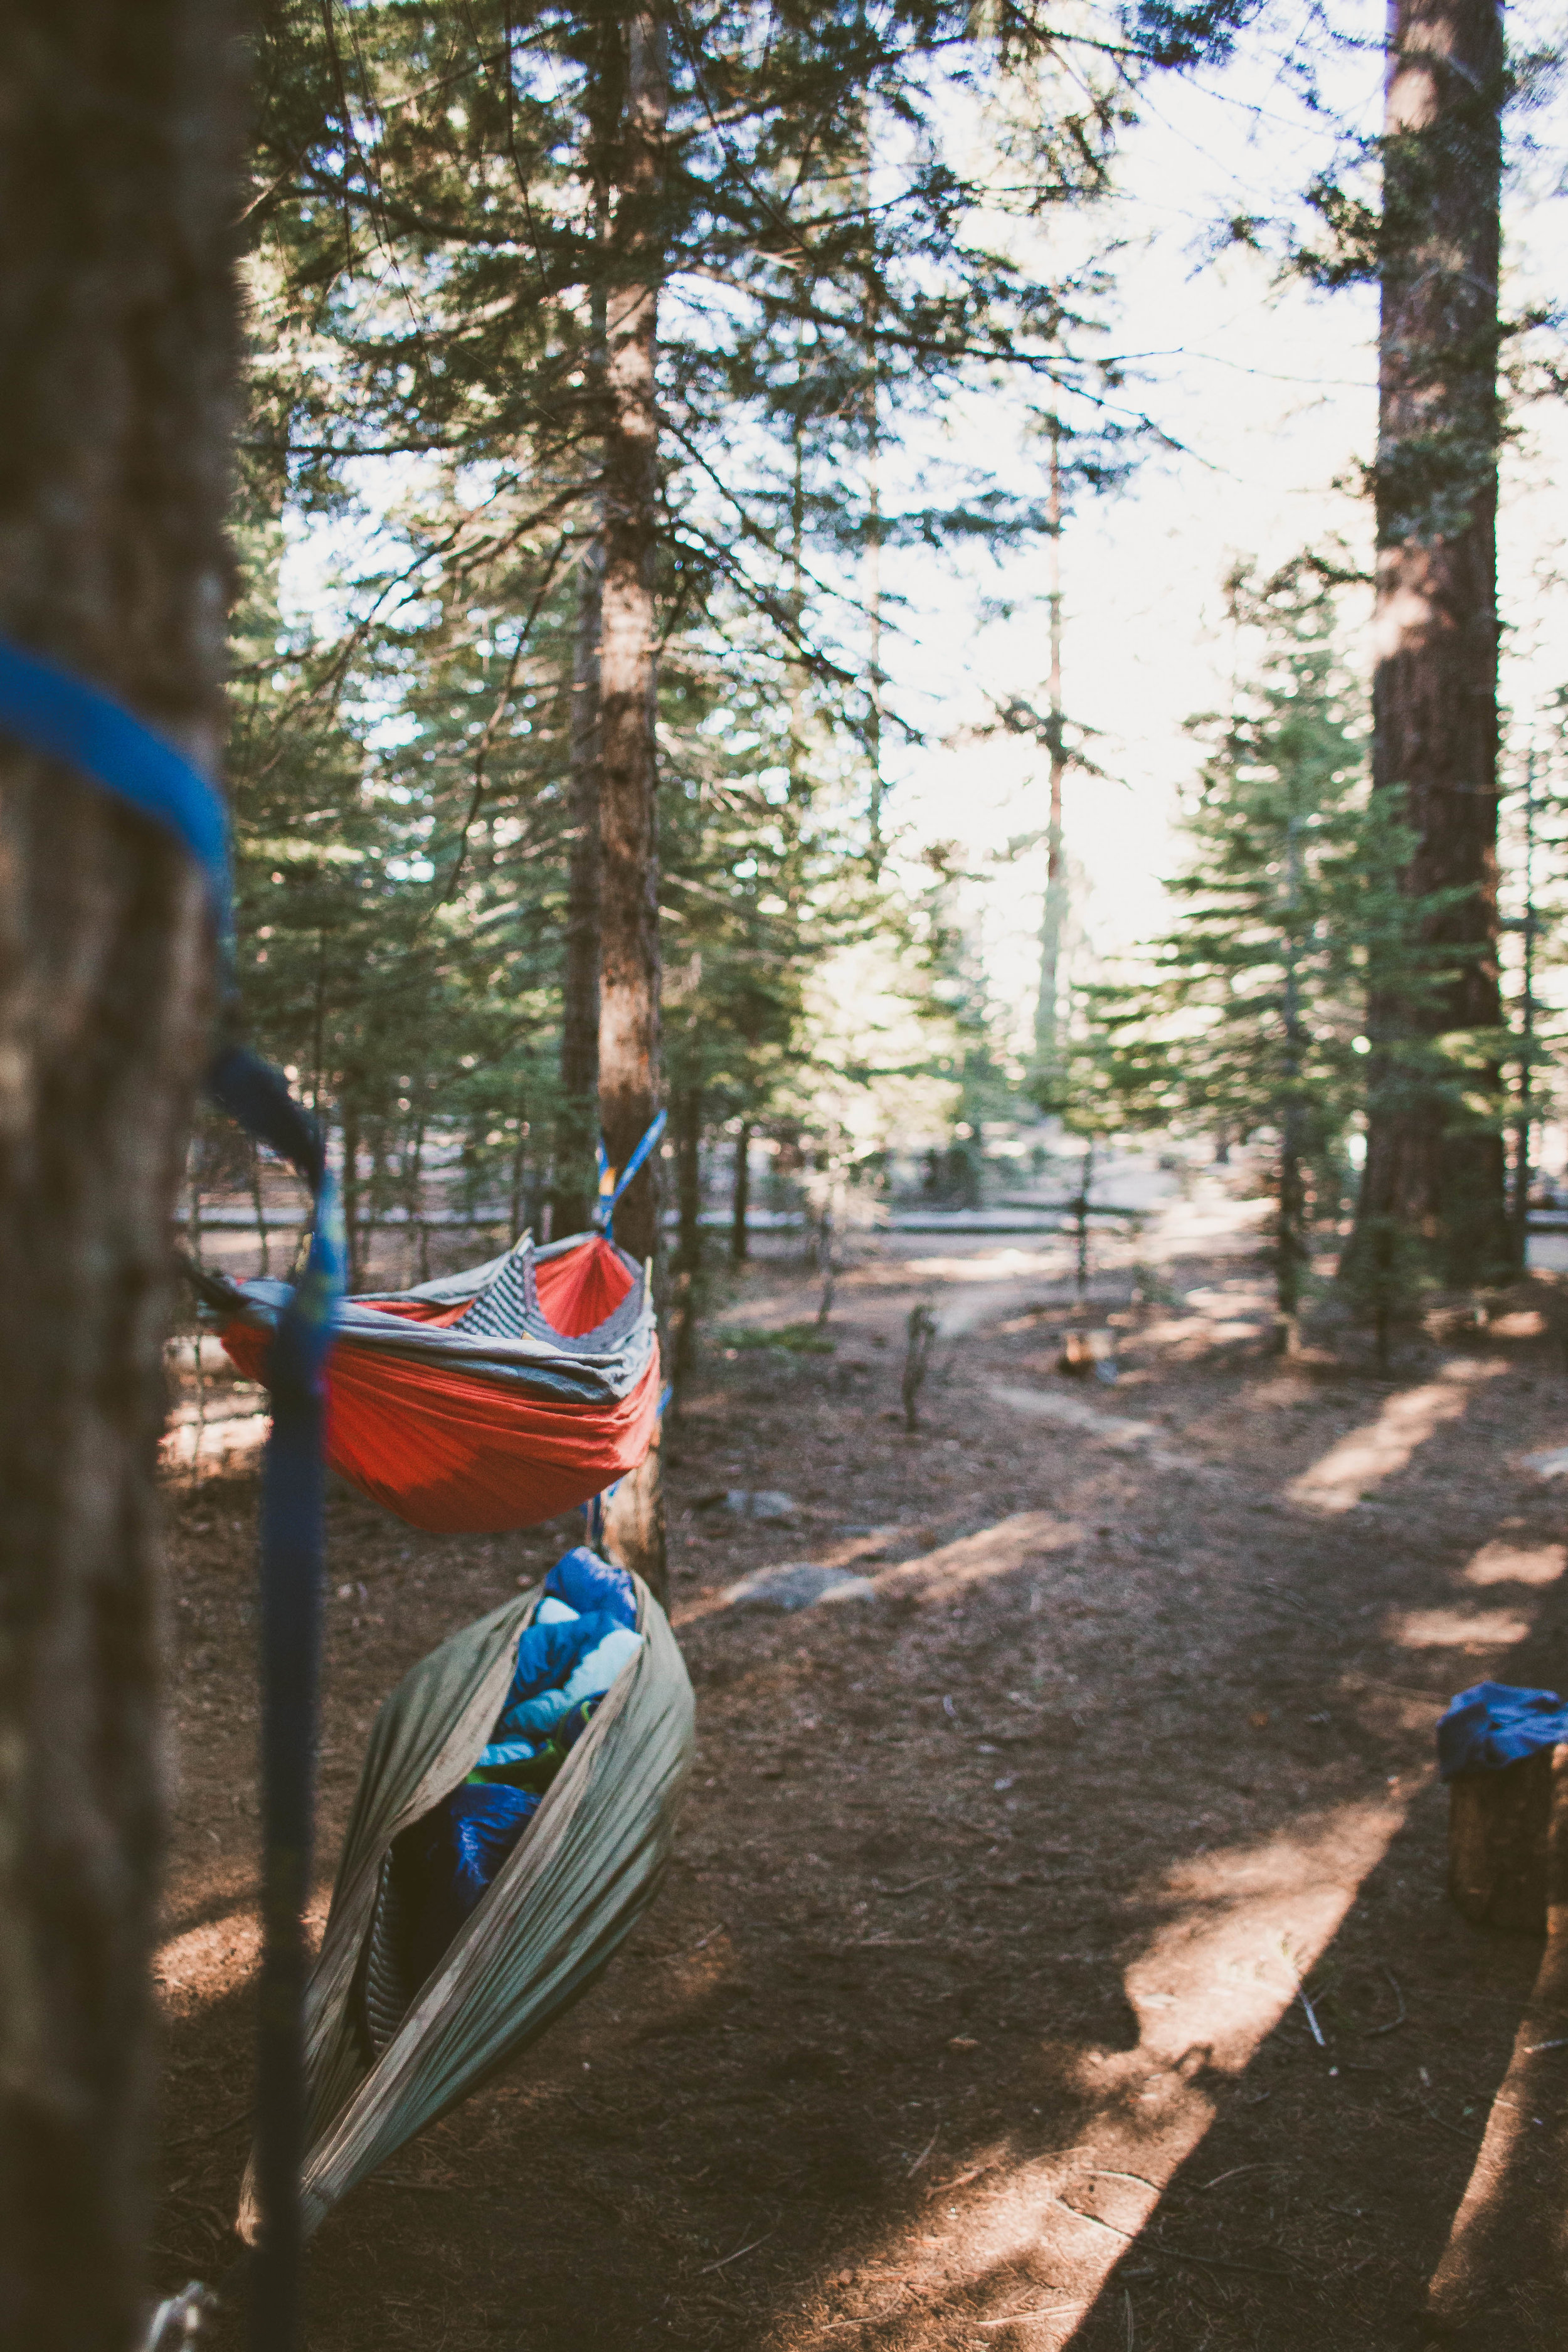
- Camp at Little Yosemite campground for the night. They have bear lockers (no need for bear cans!!), pit toilets, and the Merced river flows right through for a great water source.
- The next day take your day hike with climbing supplies from Little Yosemite campground to Half Dome! It's about a 6.7 round trip day and 2,000 ft of elevation gain. Although the mileage is short don't underestimate the time it will take you to get up on the cables. Especially if you're playing it safe or if there are other people going up/coming down. You'll also want to plan to stay at the top for some time. It's beautiful! Hike back down to your campground to enjoy a nice fire, delicious dinner, and quiet evening.
- From here, you can really turn your trip into anything you want depending on trail openings! You can continue to do day-hikes out of Little Yosemite campground to Clouds Rest, Glacier Point, more lakes... OR, hike back down to Happy Isle to the valley floor.
Supplies to Climb Half Dome with the Cables Down
- Climbing harness
- Sling or accessory cord with double fisherman's knot to create a prusik knot
- Sling or daisy chain + a screwlock D ring carabiner for your redundant safety
- A good climbing or gardening glove
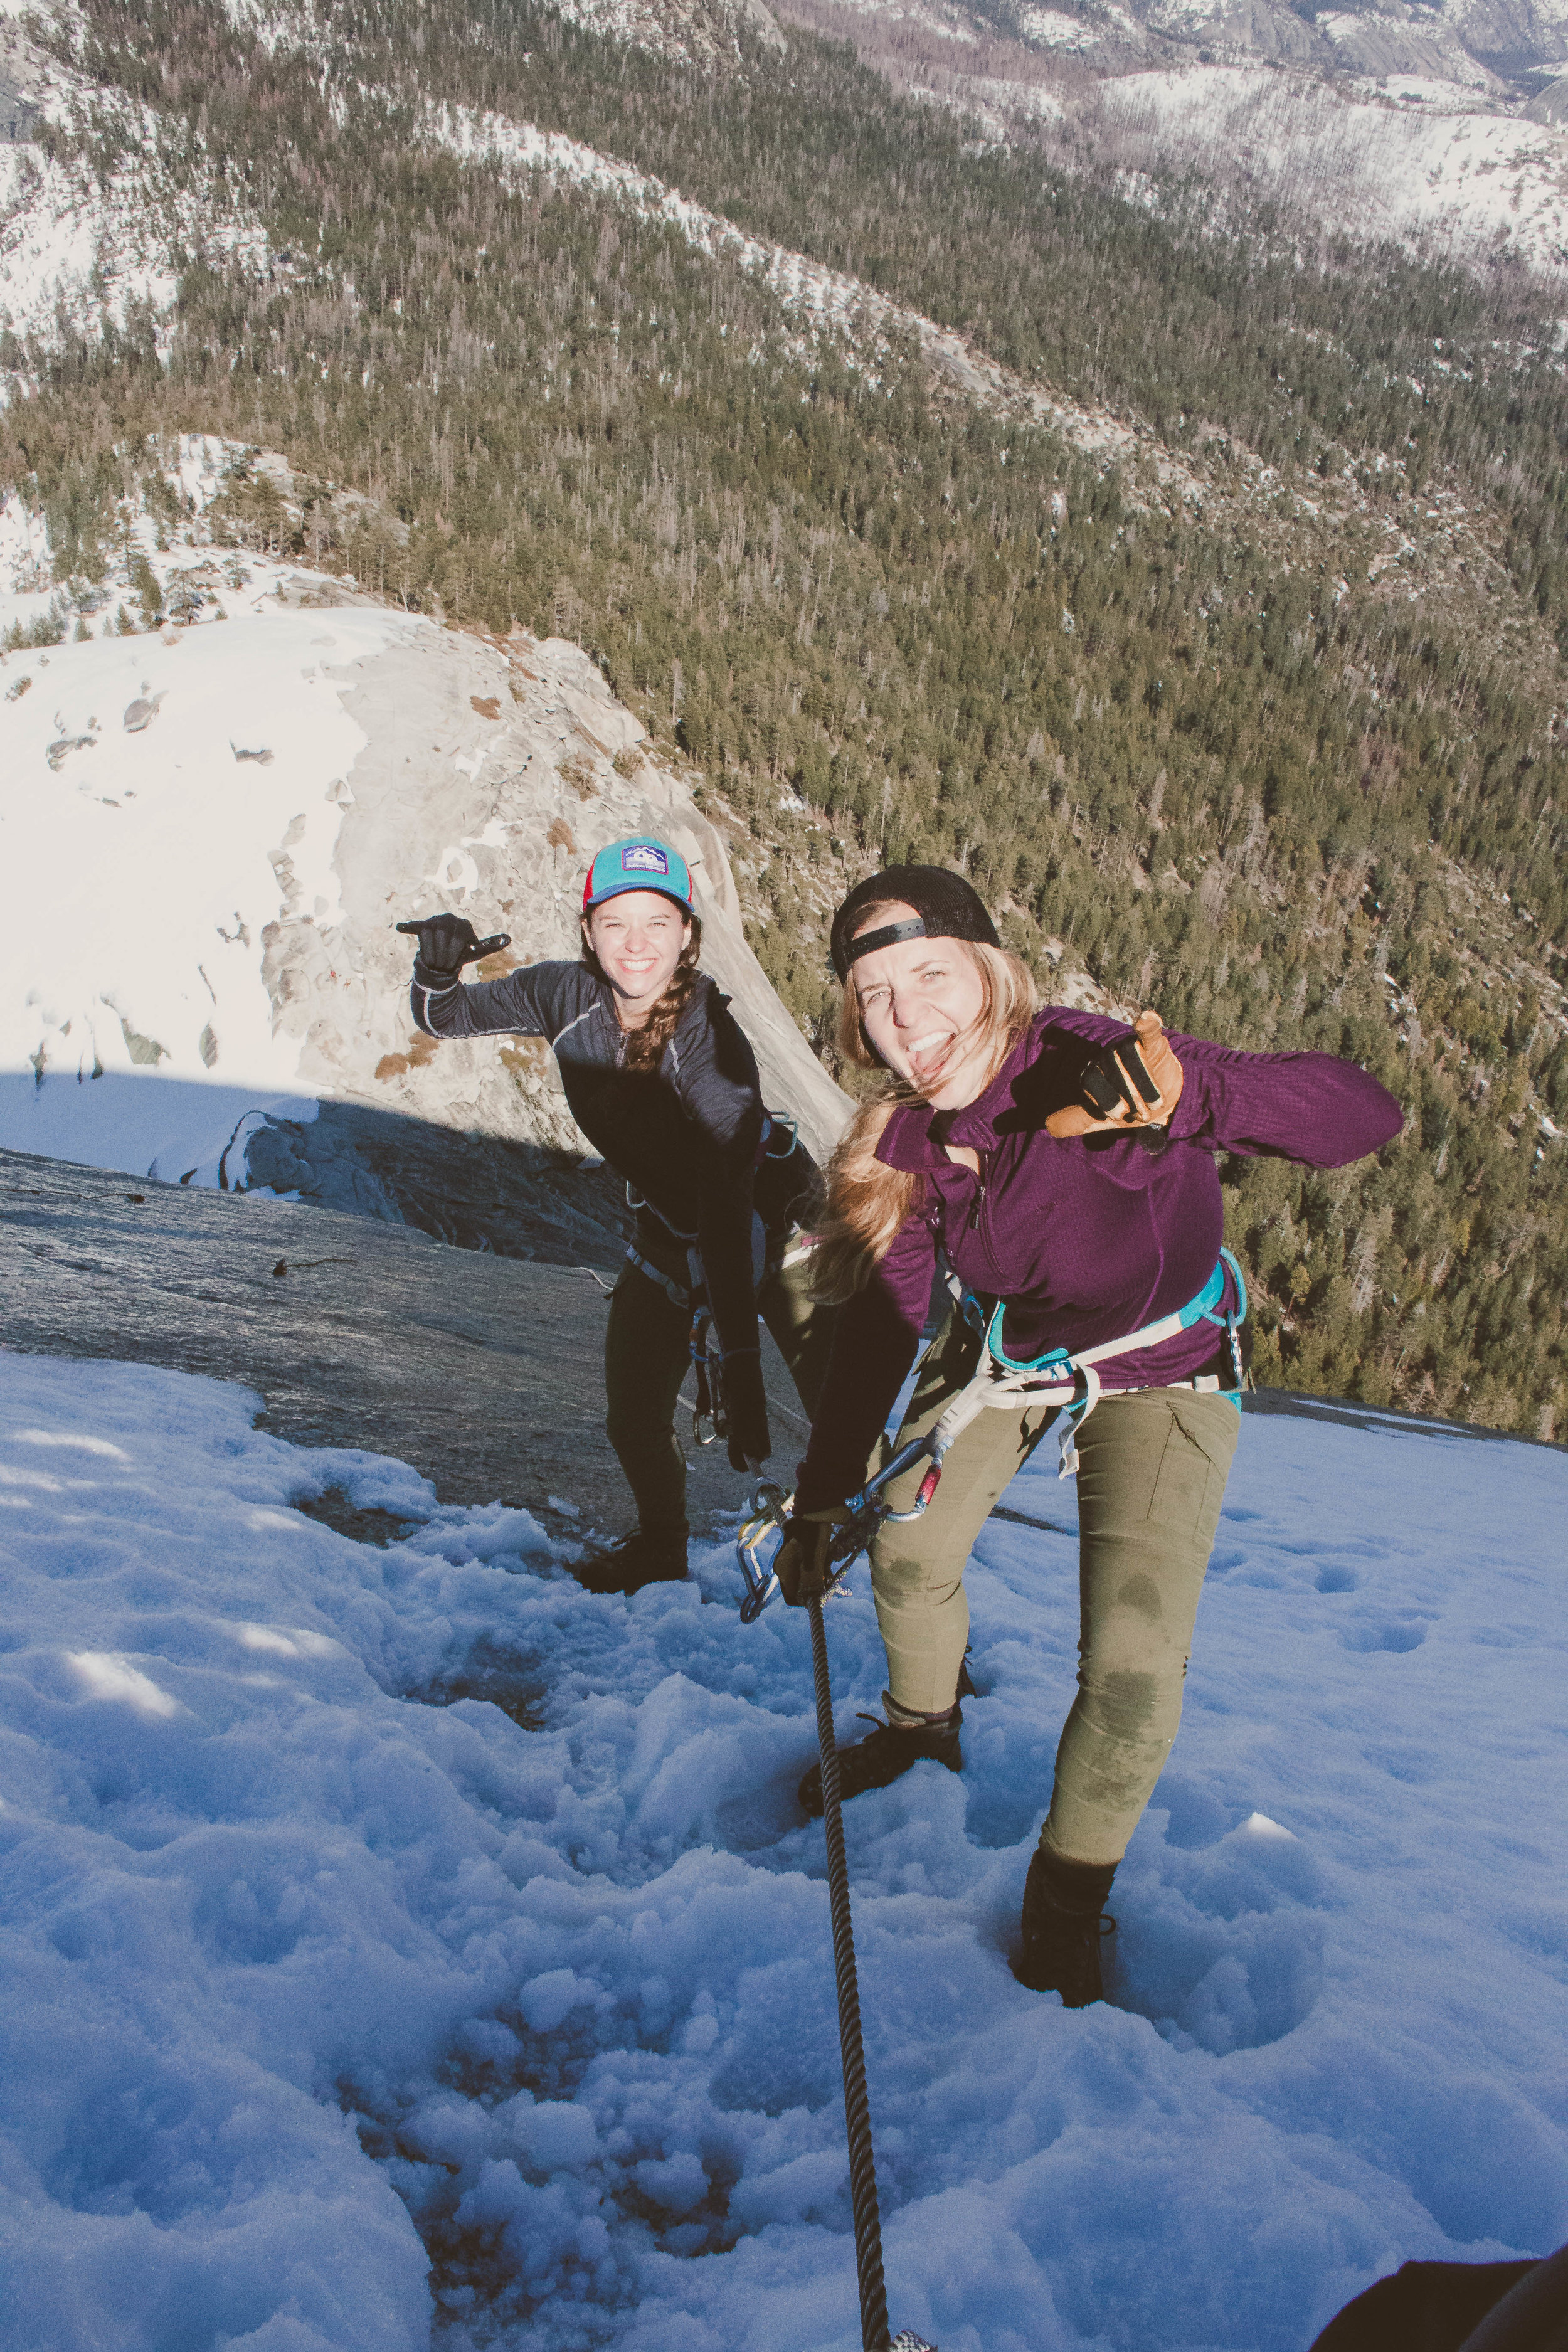
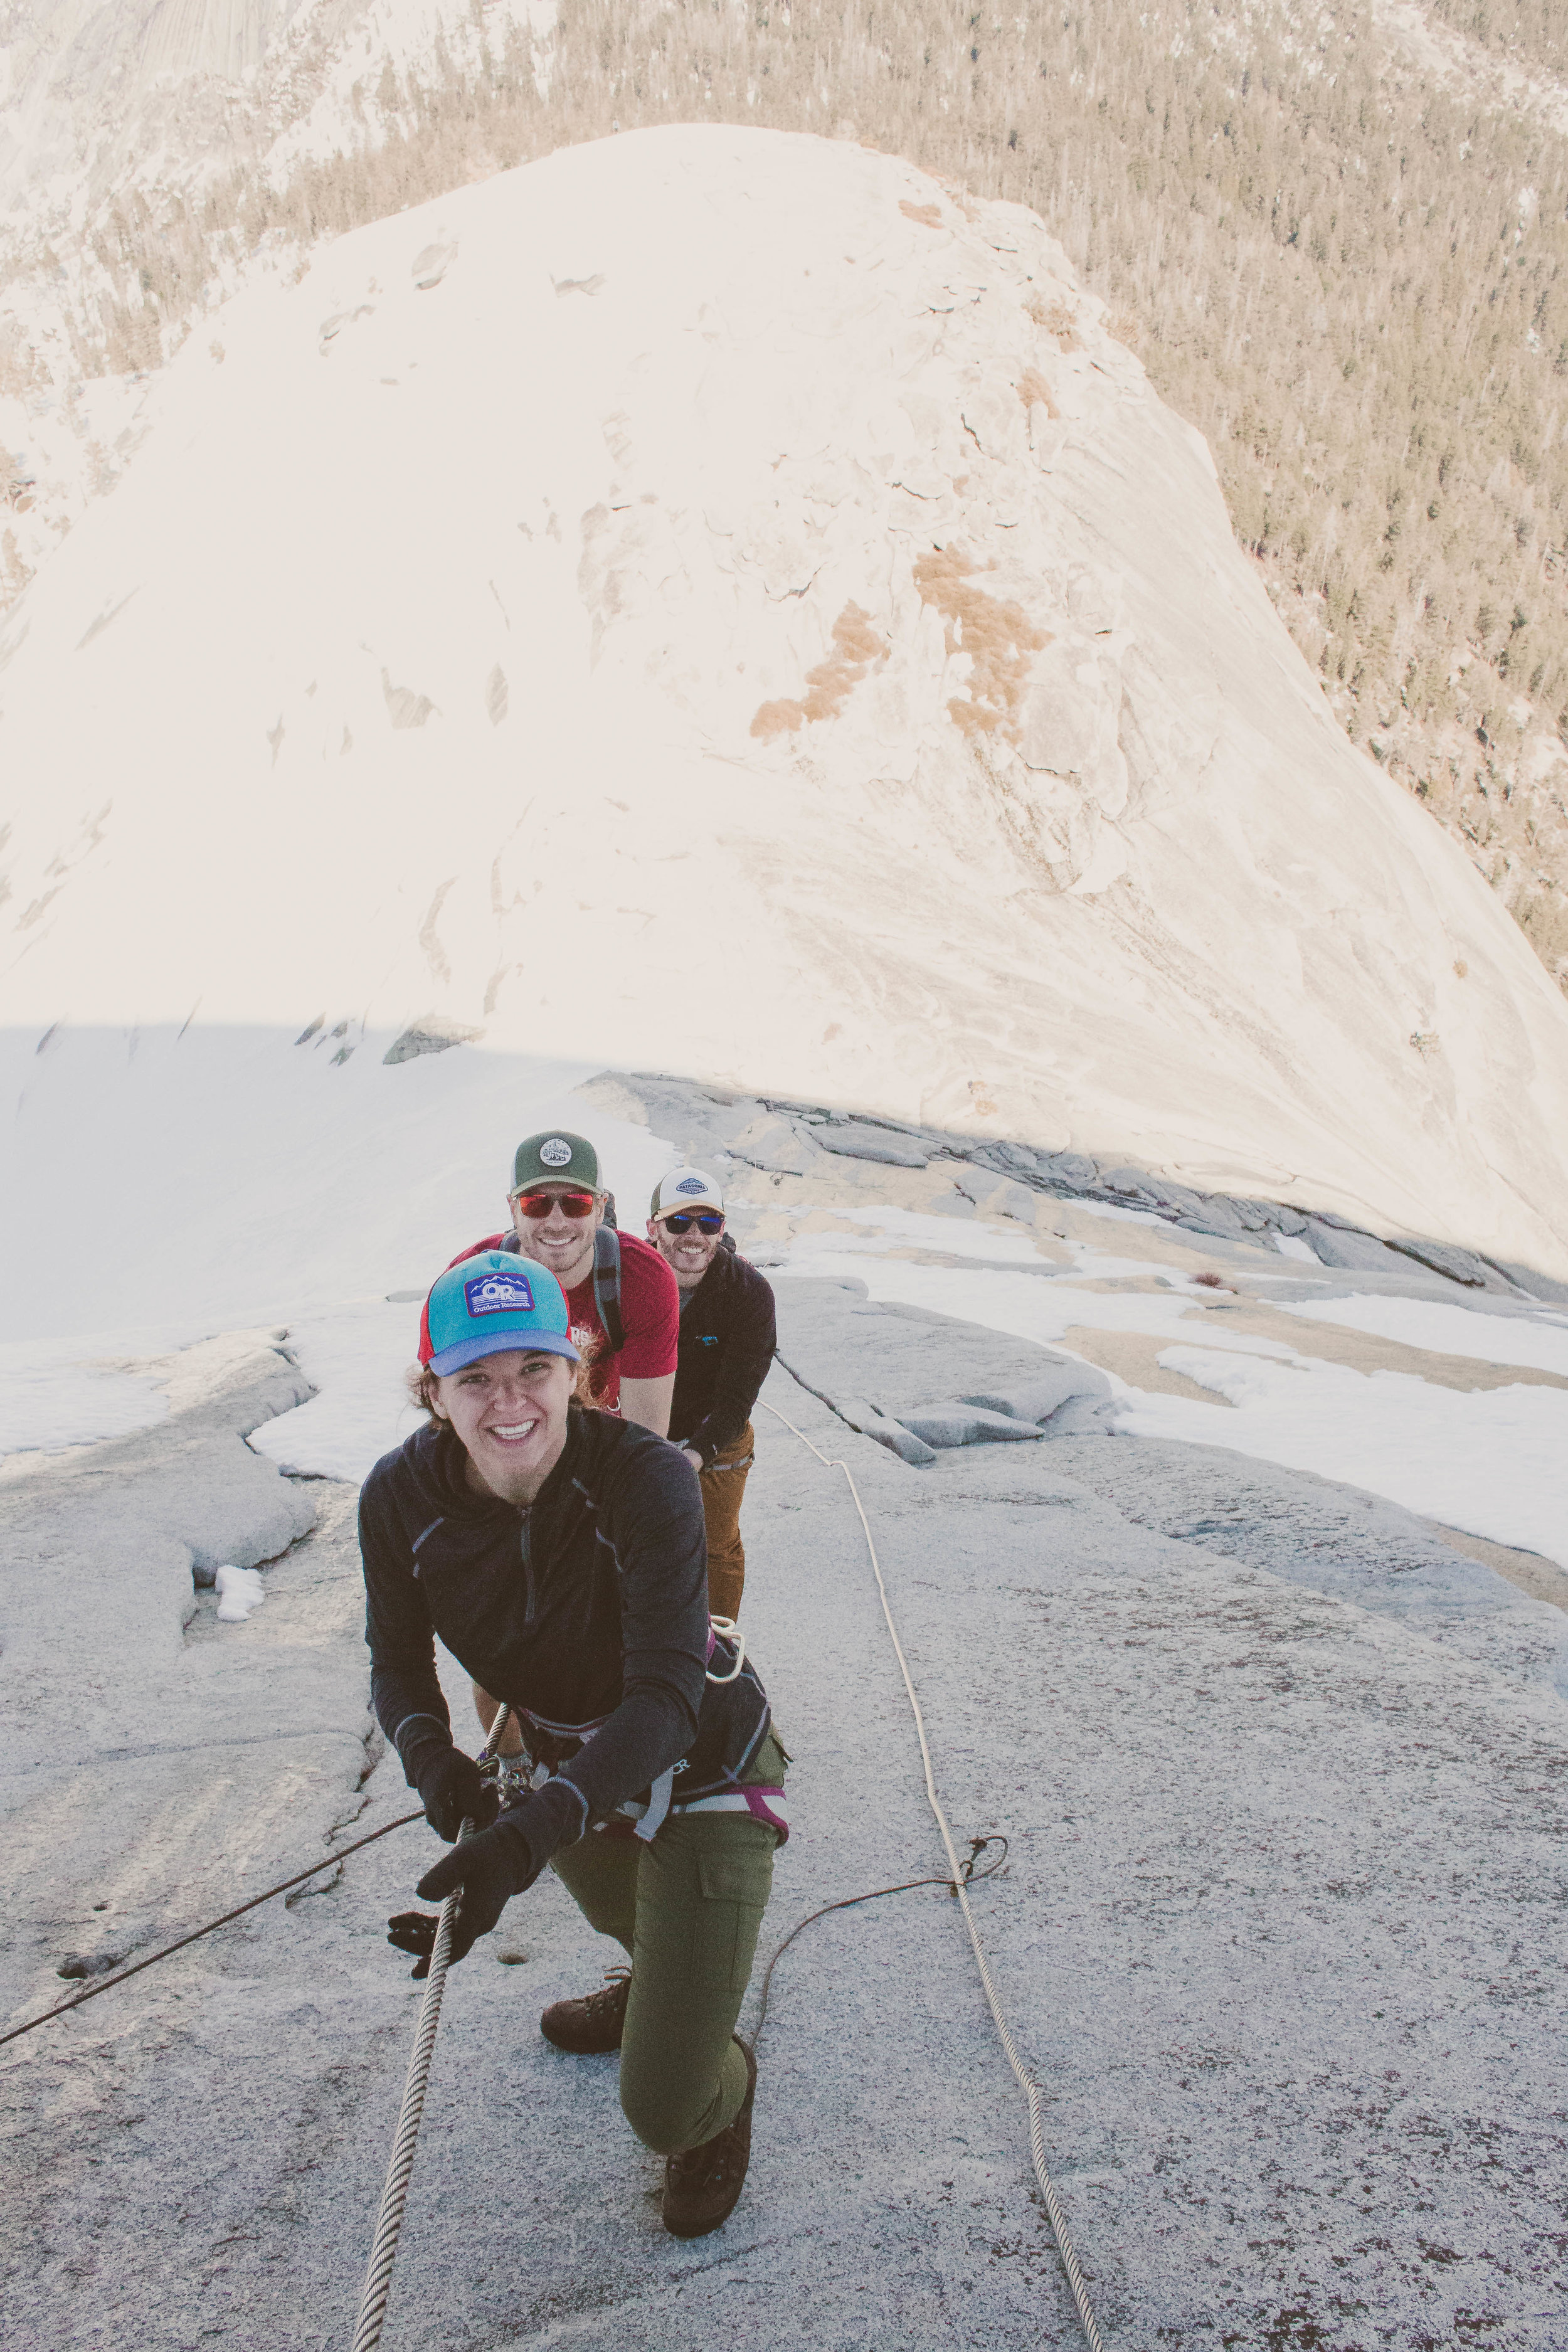
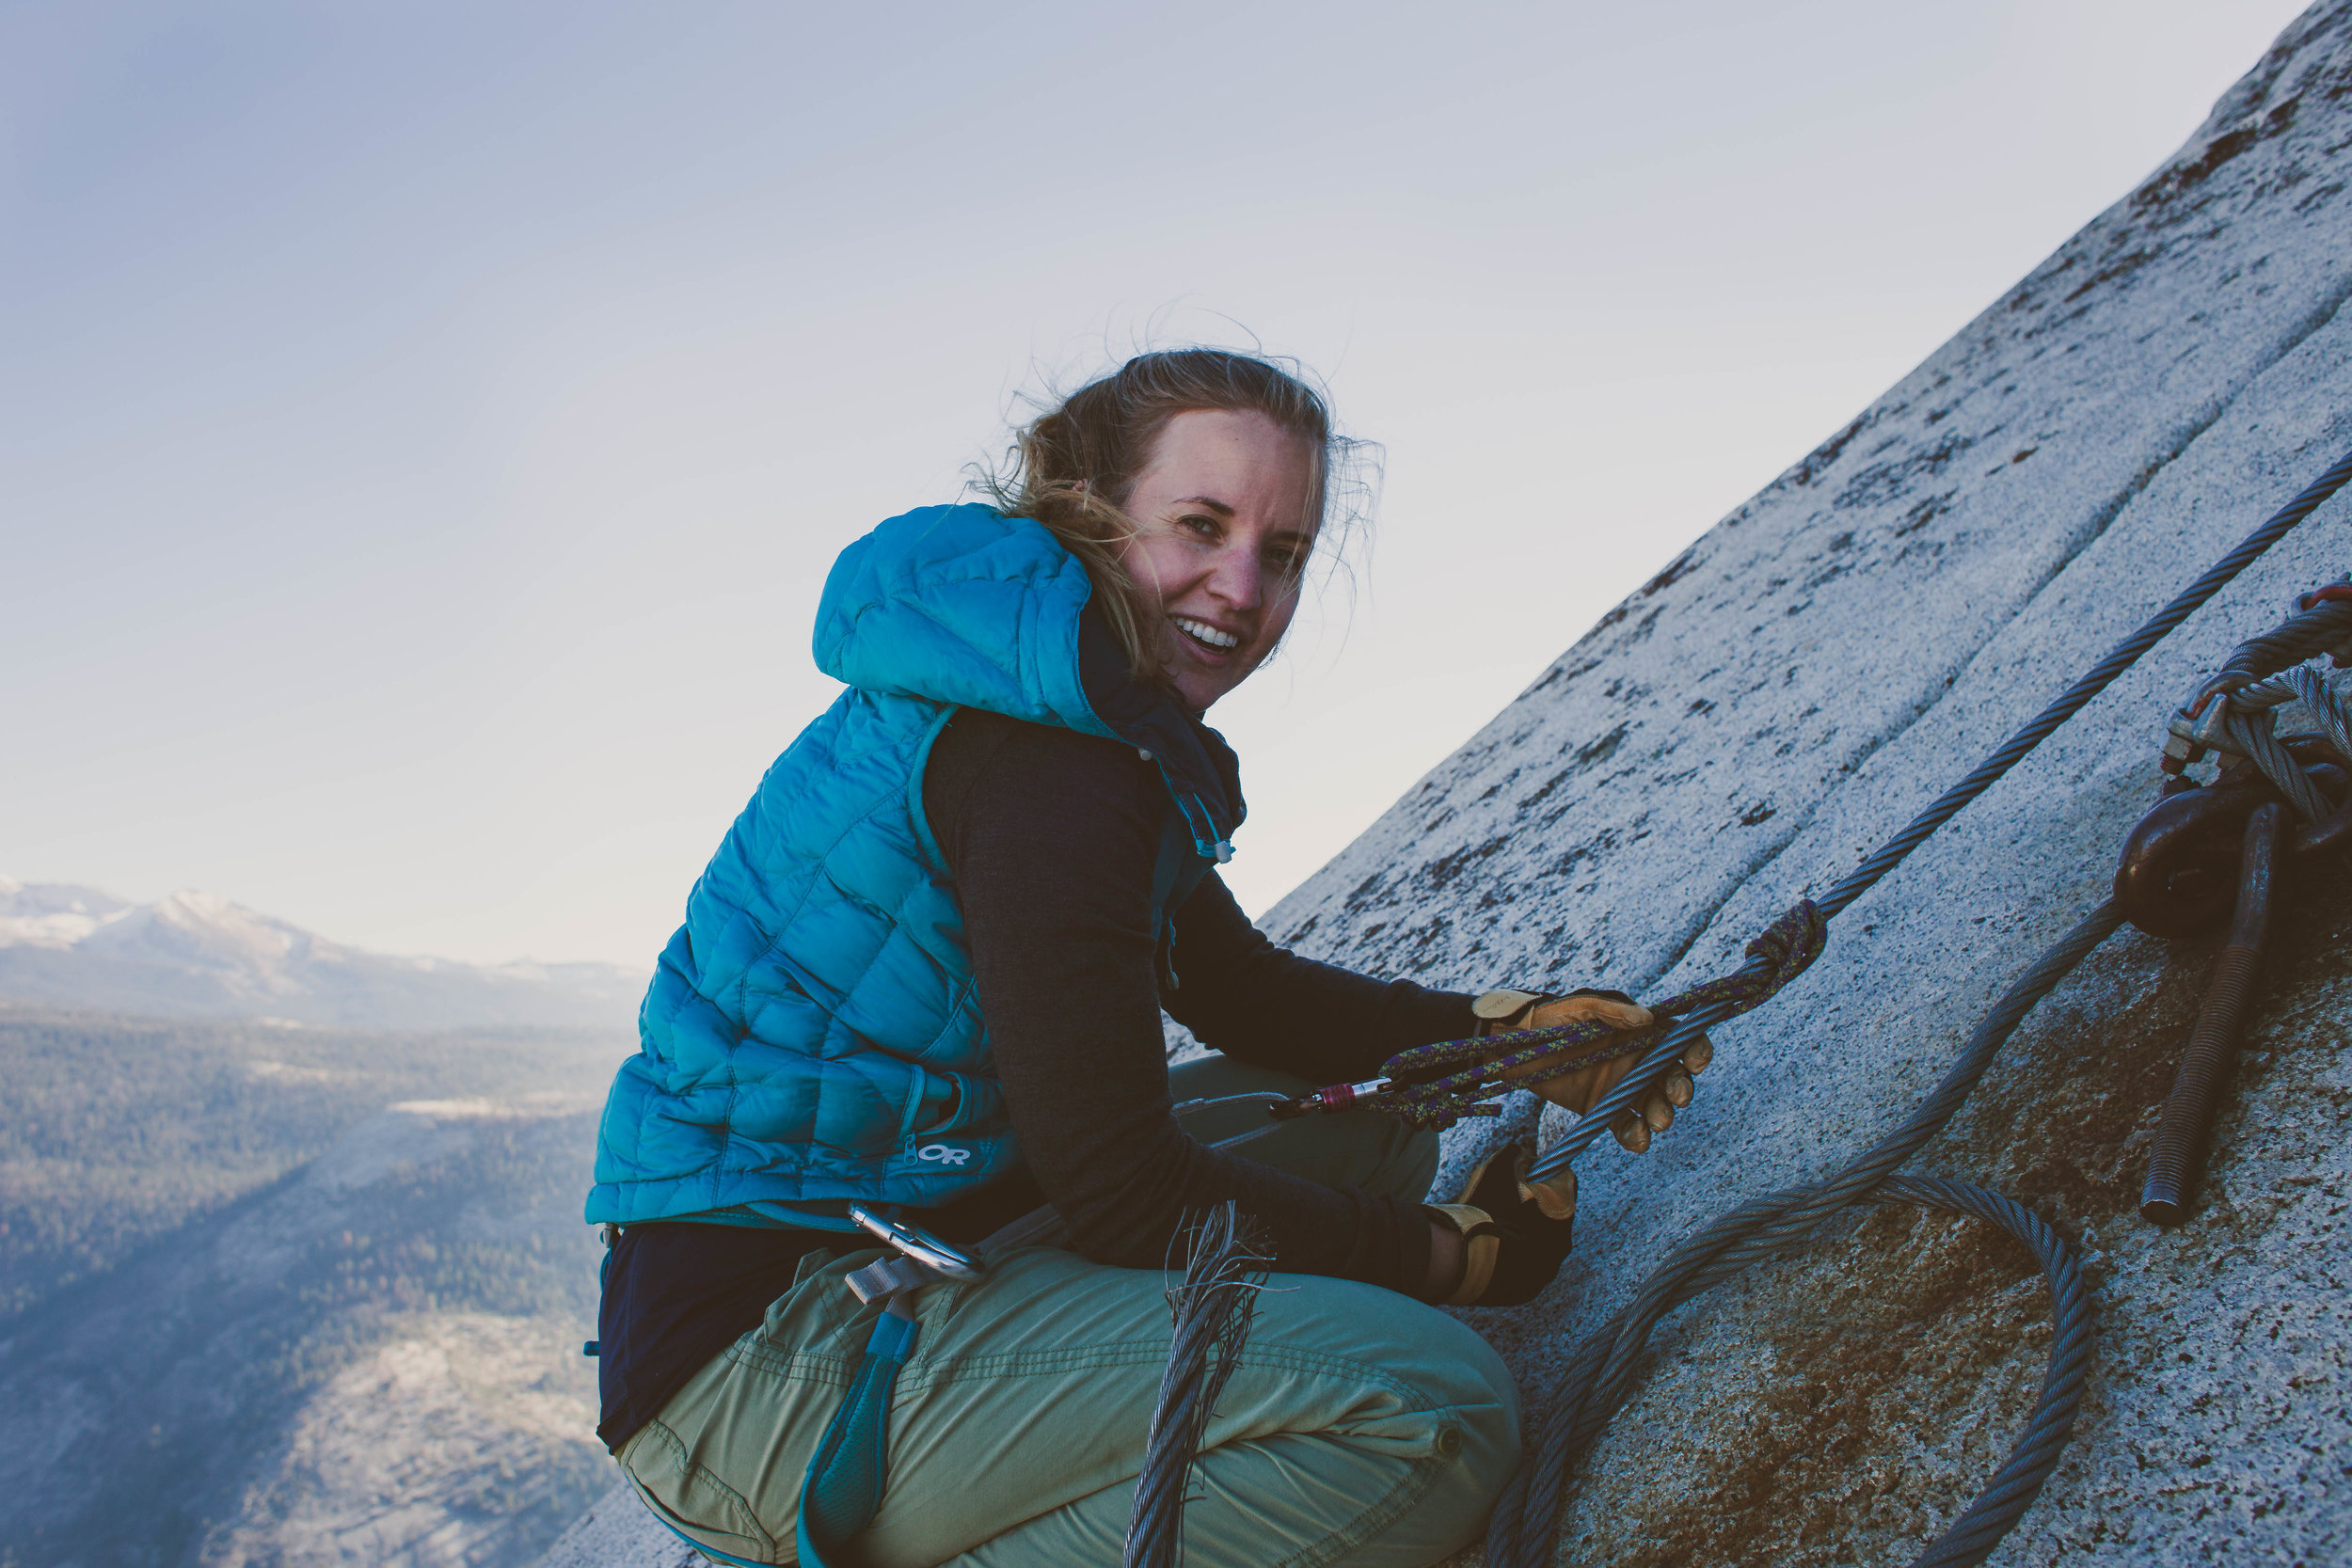
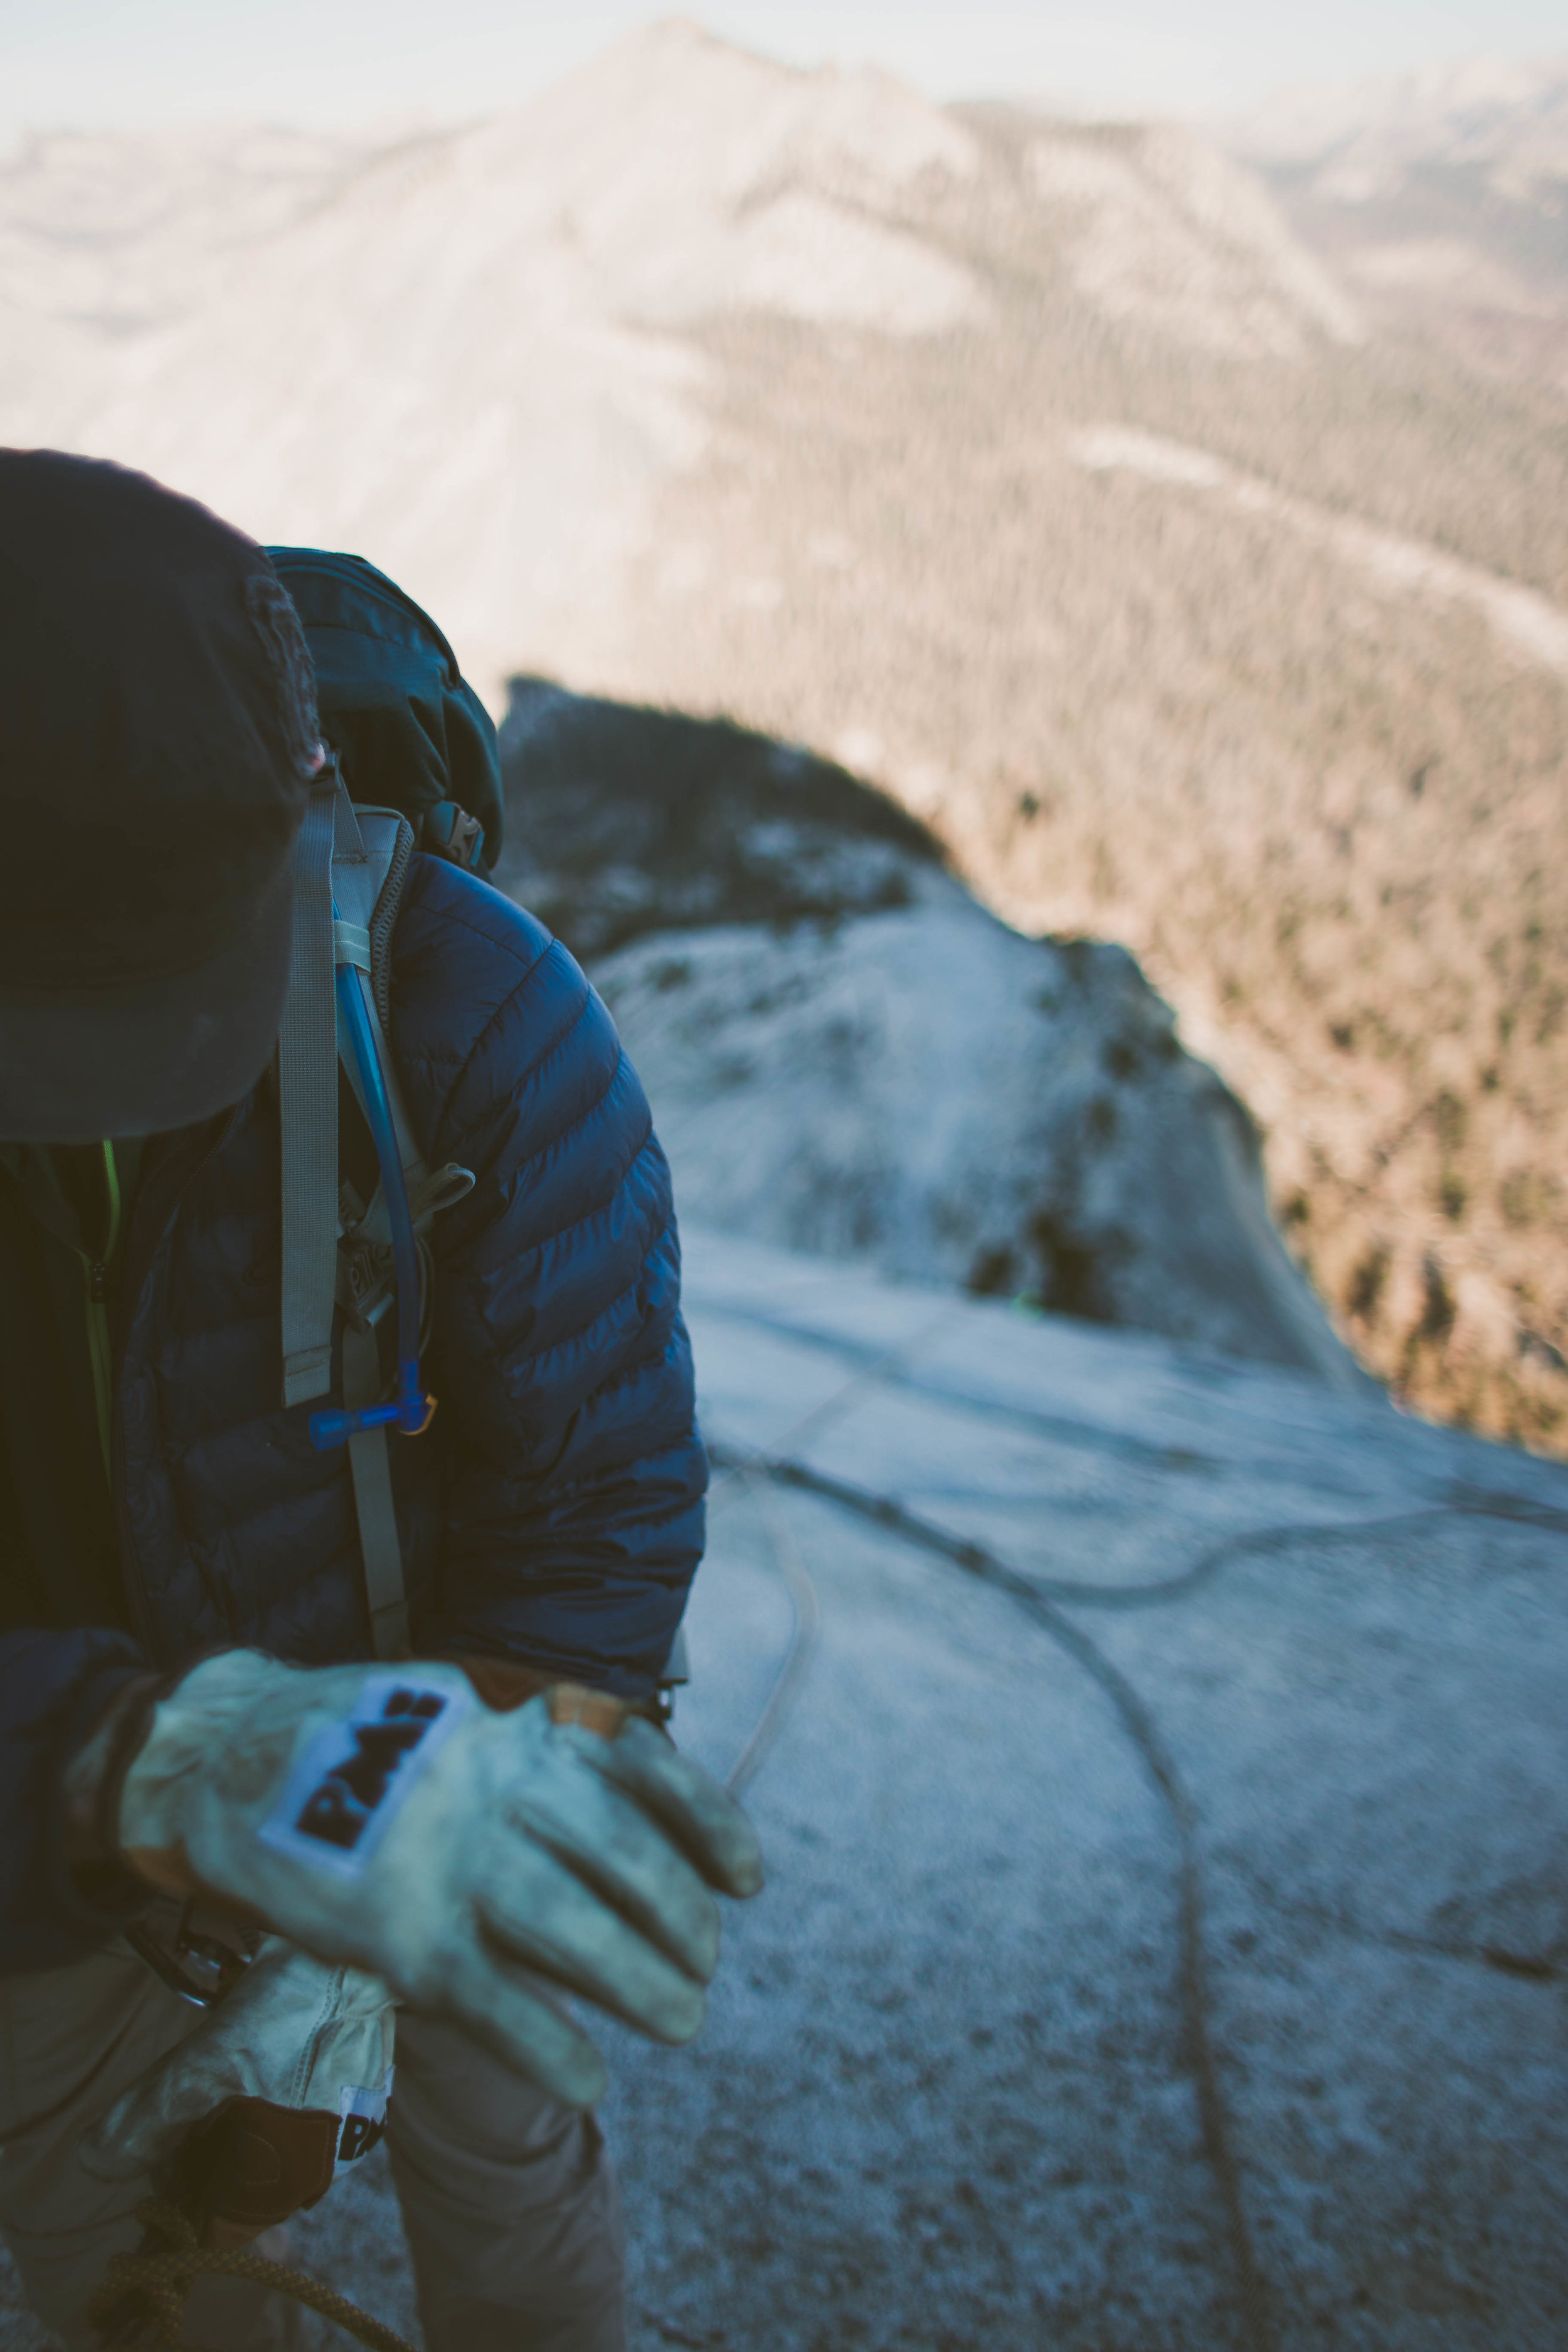
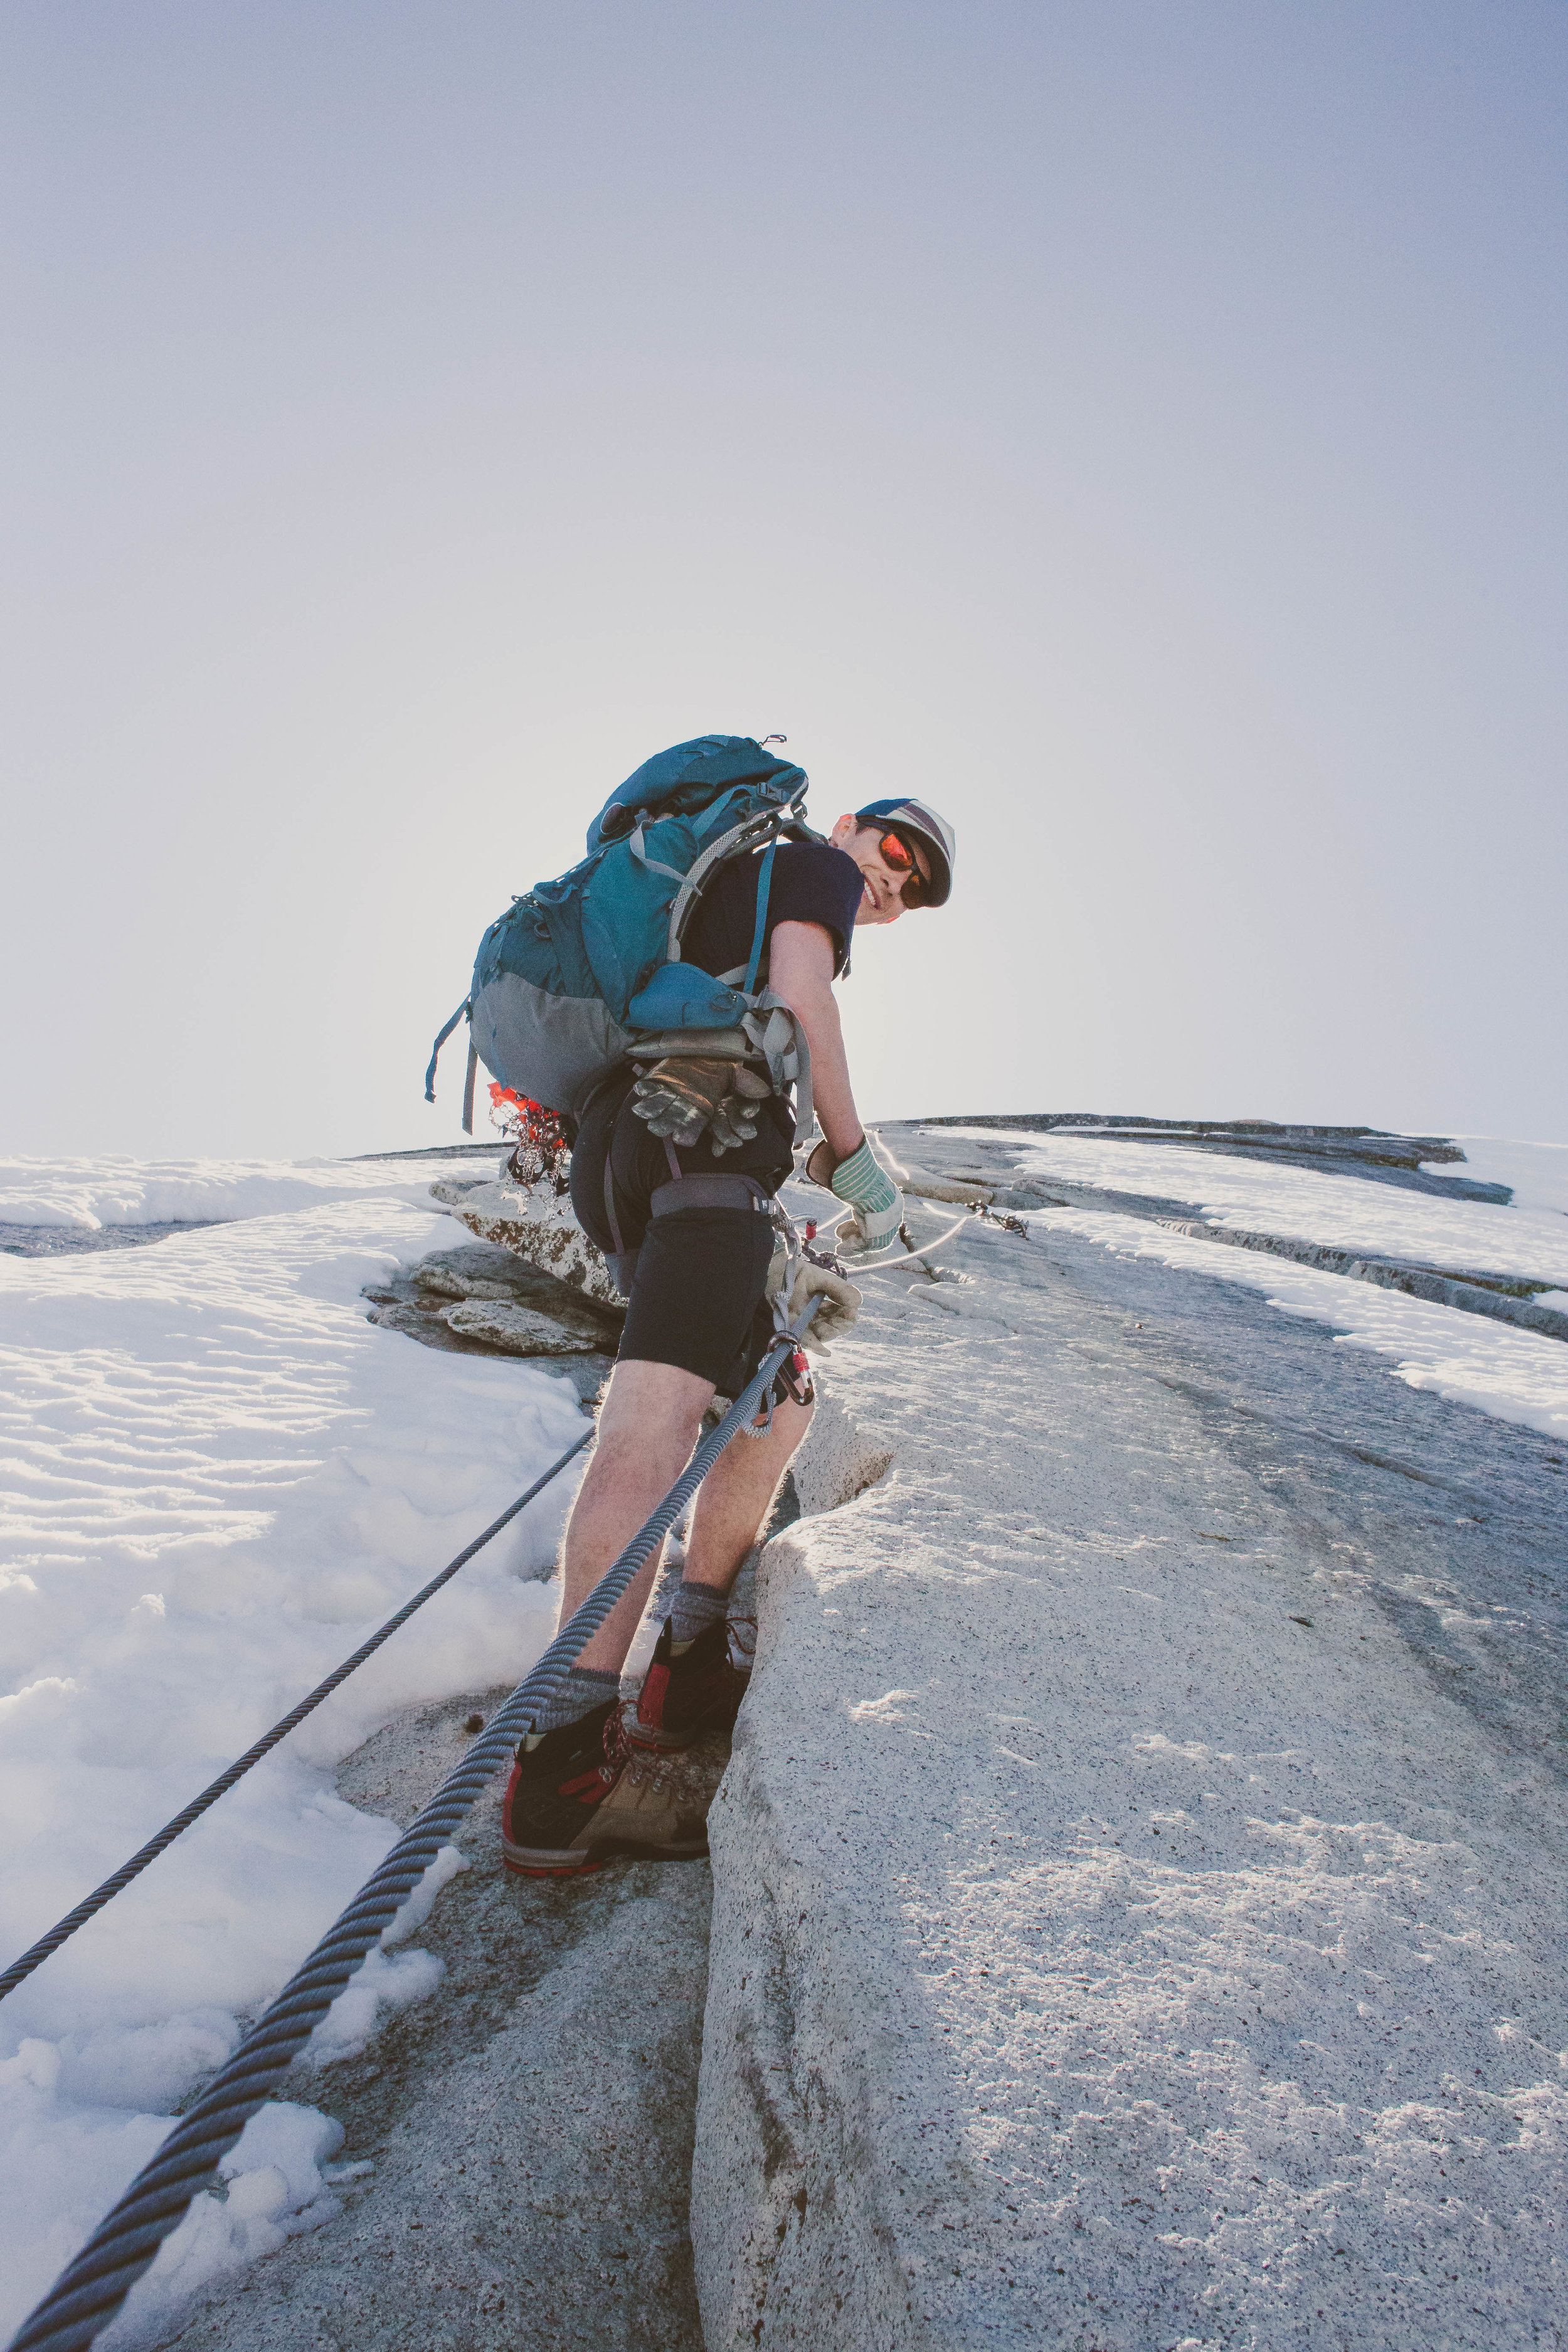
This last time we went up Half Dome I was certainly glad for my prusik and safety. Although the climb is fairly safe there was about a 1/4 inch deep running water on most of the rock from fresh snow melt + actual snow on some parts making it extra slippery.
Also, be prepared to untie your prusik at several points where the cable is bolted into the rock. You'll have to safety into the bolted area, undo your prusik, and then re-do your prusik above where the cable is bolted into the rock OR sometimes switch to a completely different cable.
.... so.... that's all folks! We hope you enjoy and find this helpful!!
Thanks for tuning in.
On top of Half Dome! November, 2017
Rich on the Half Dome diving board
Rich + Leaf


